
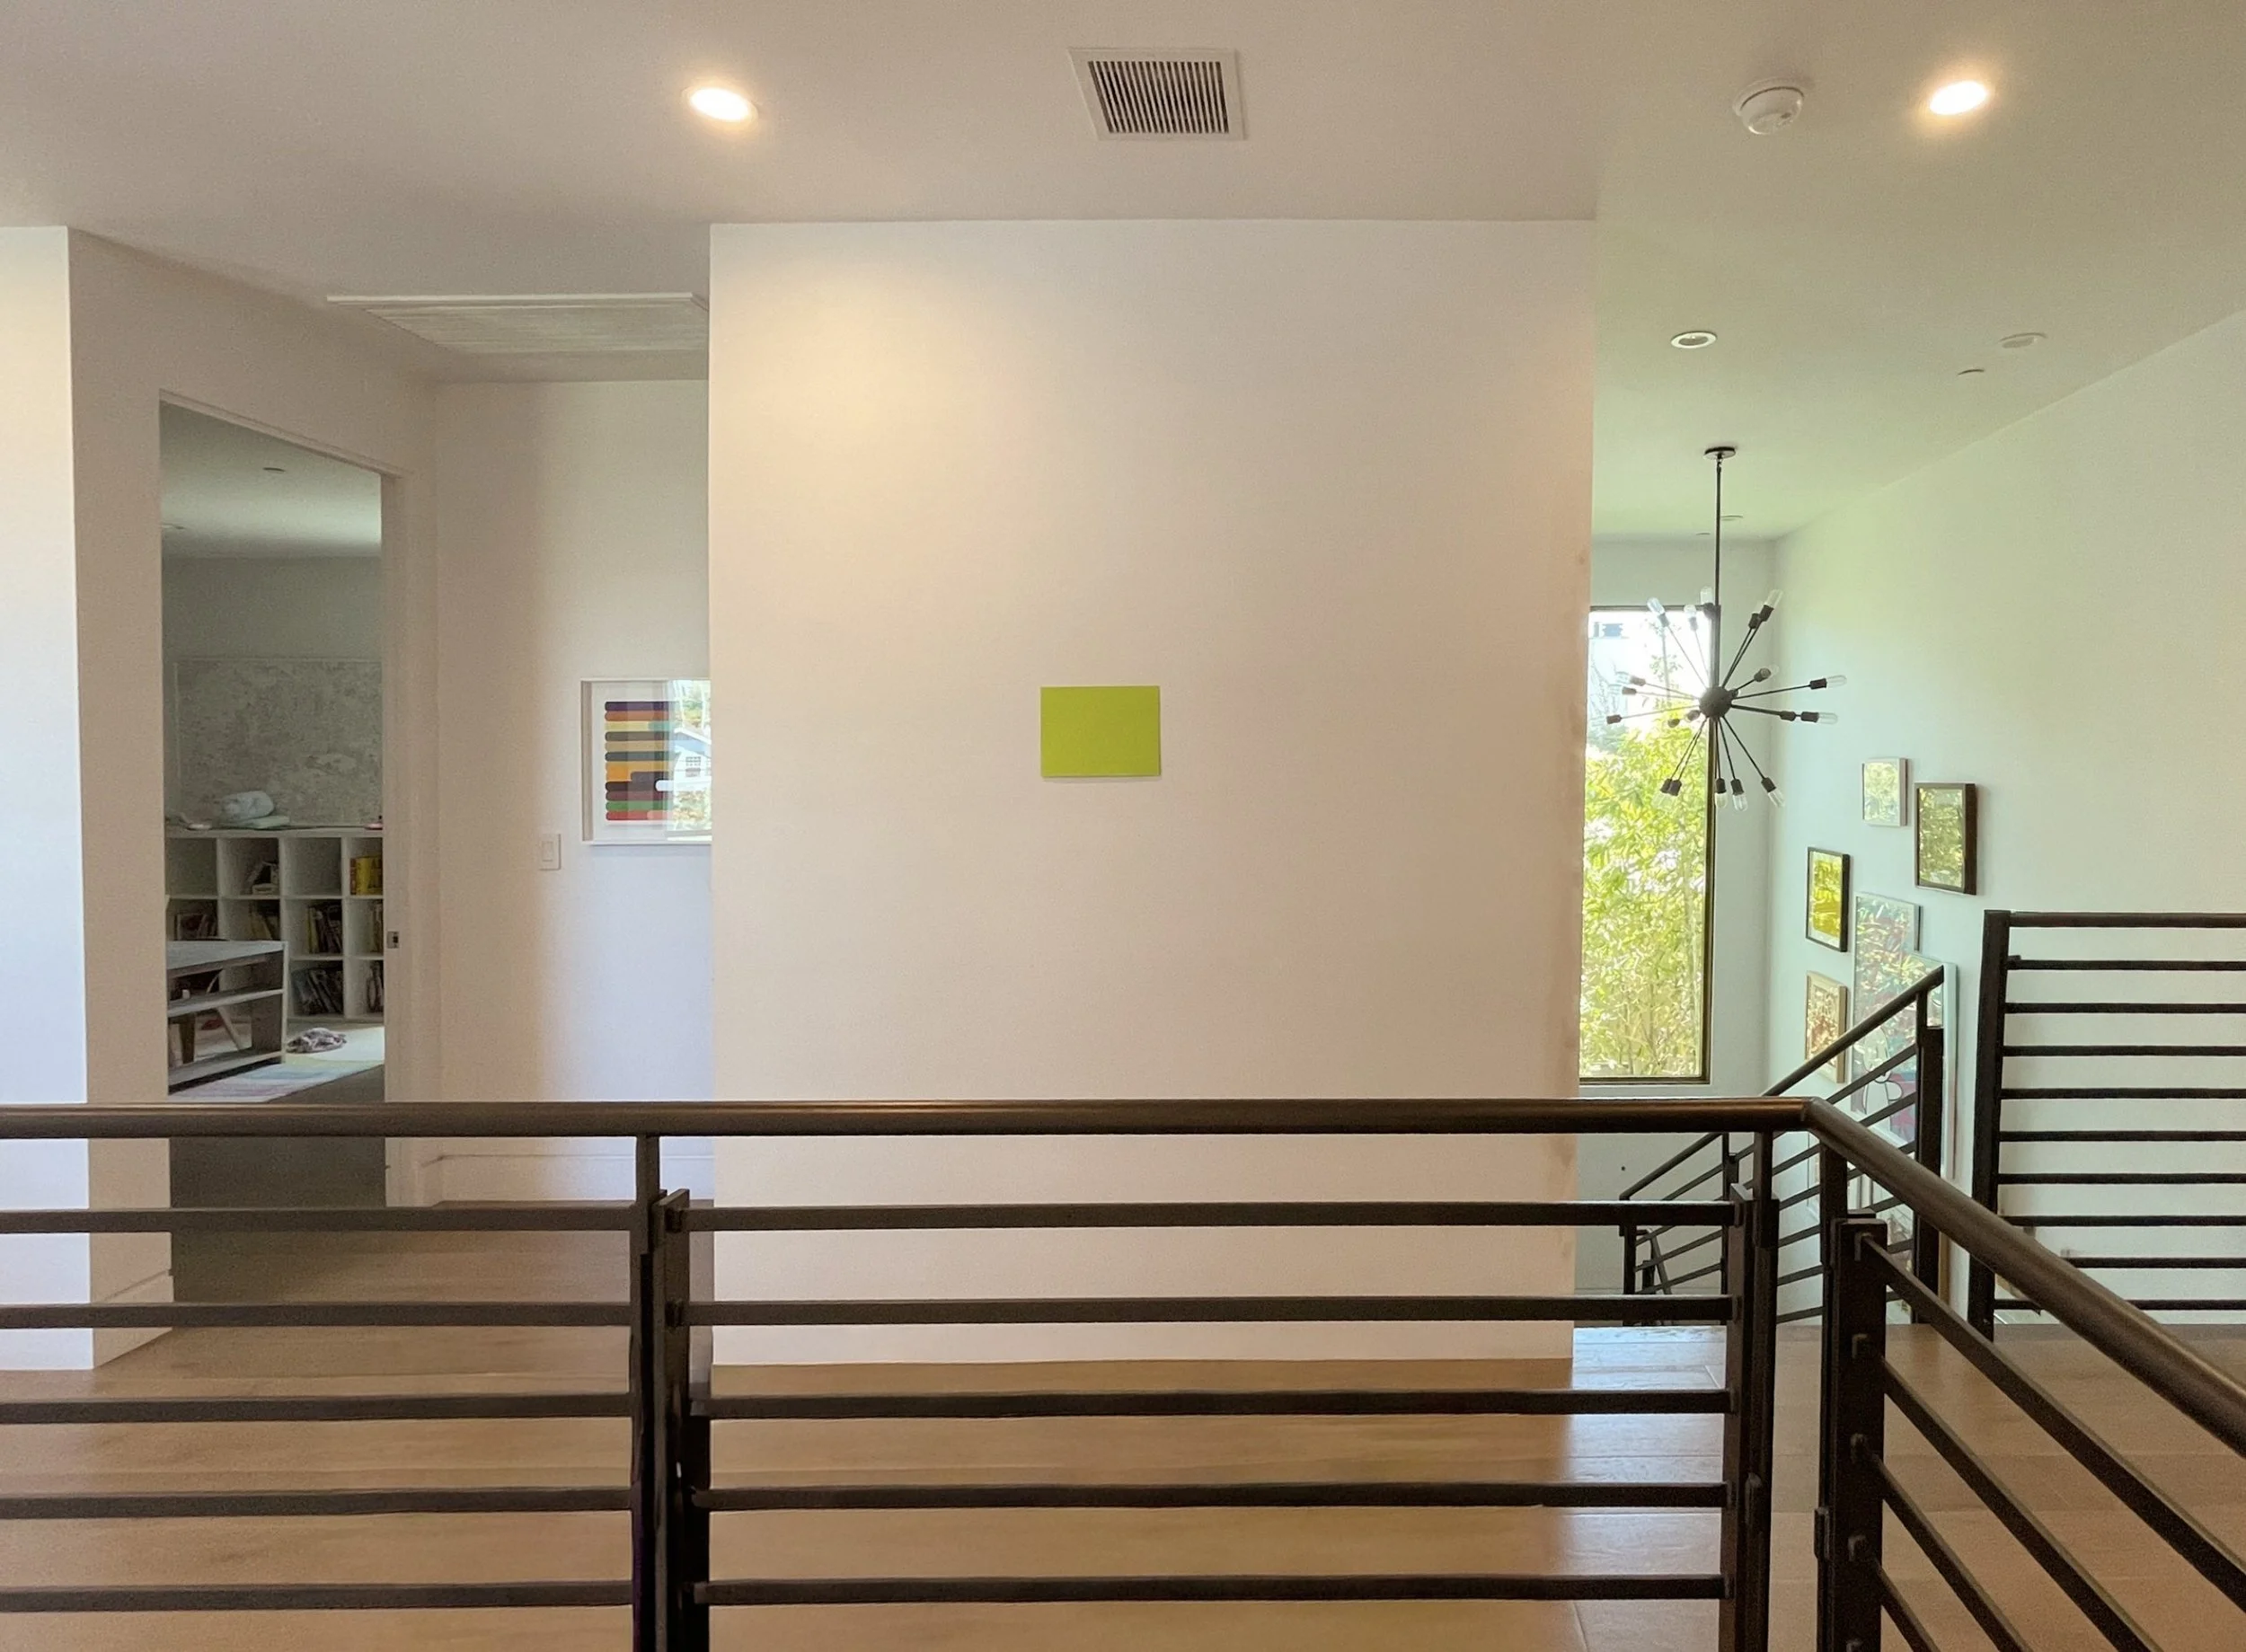
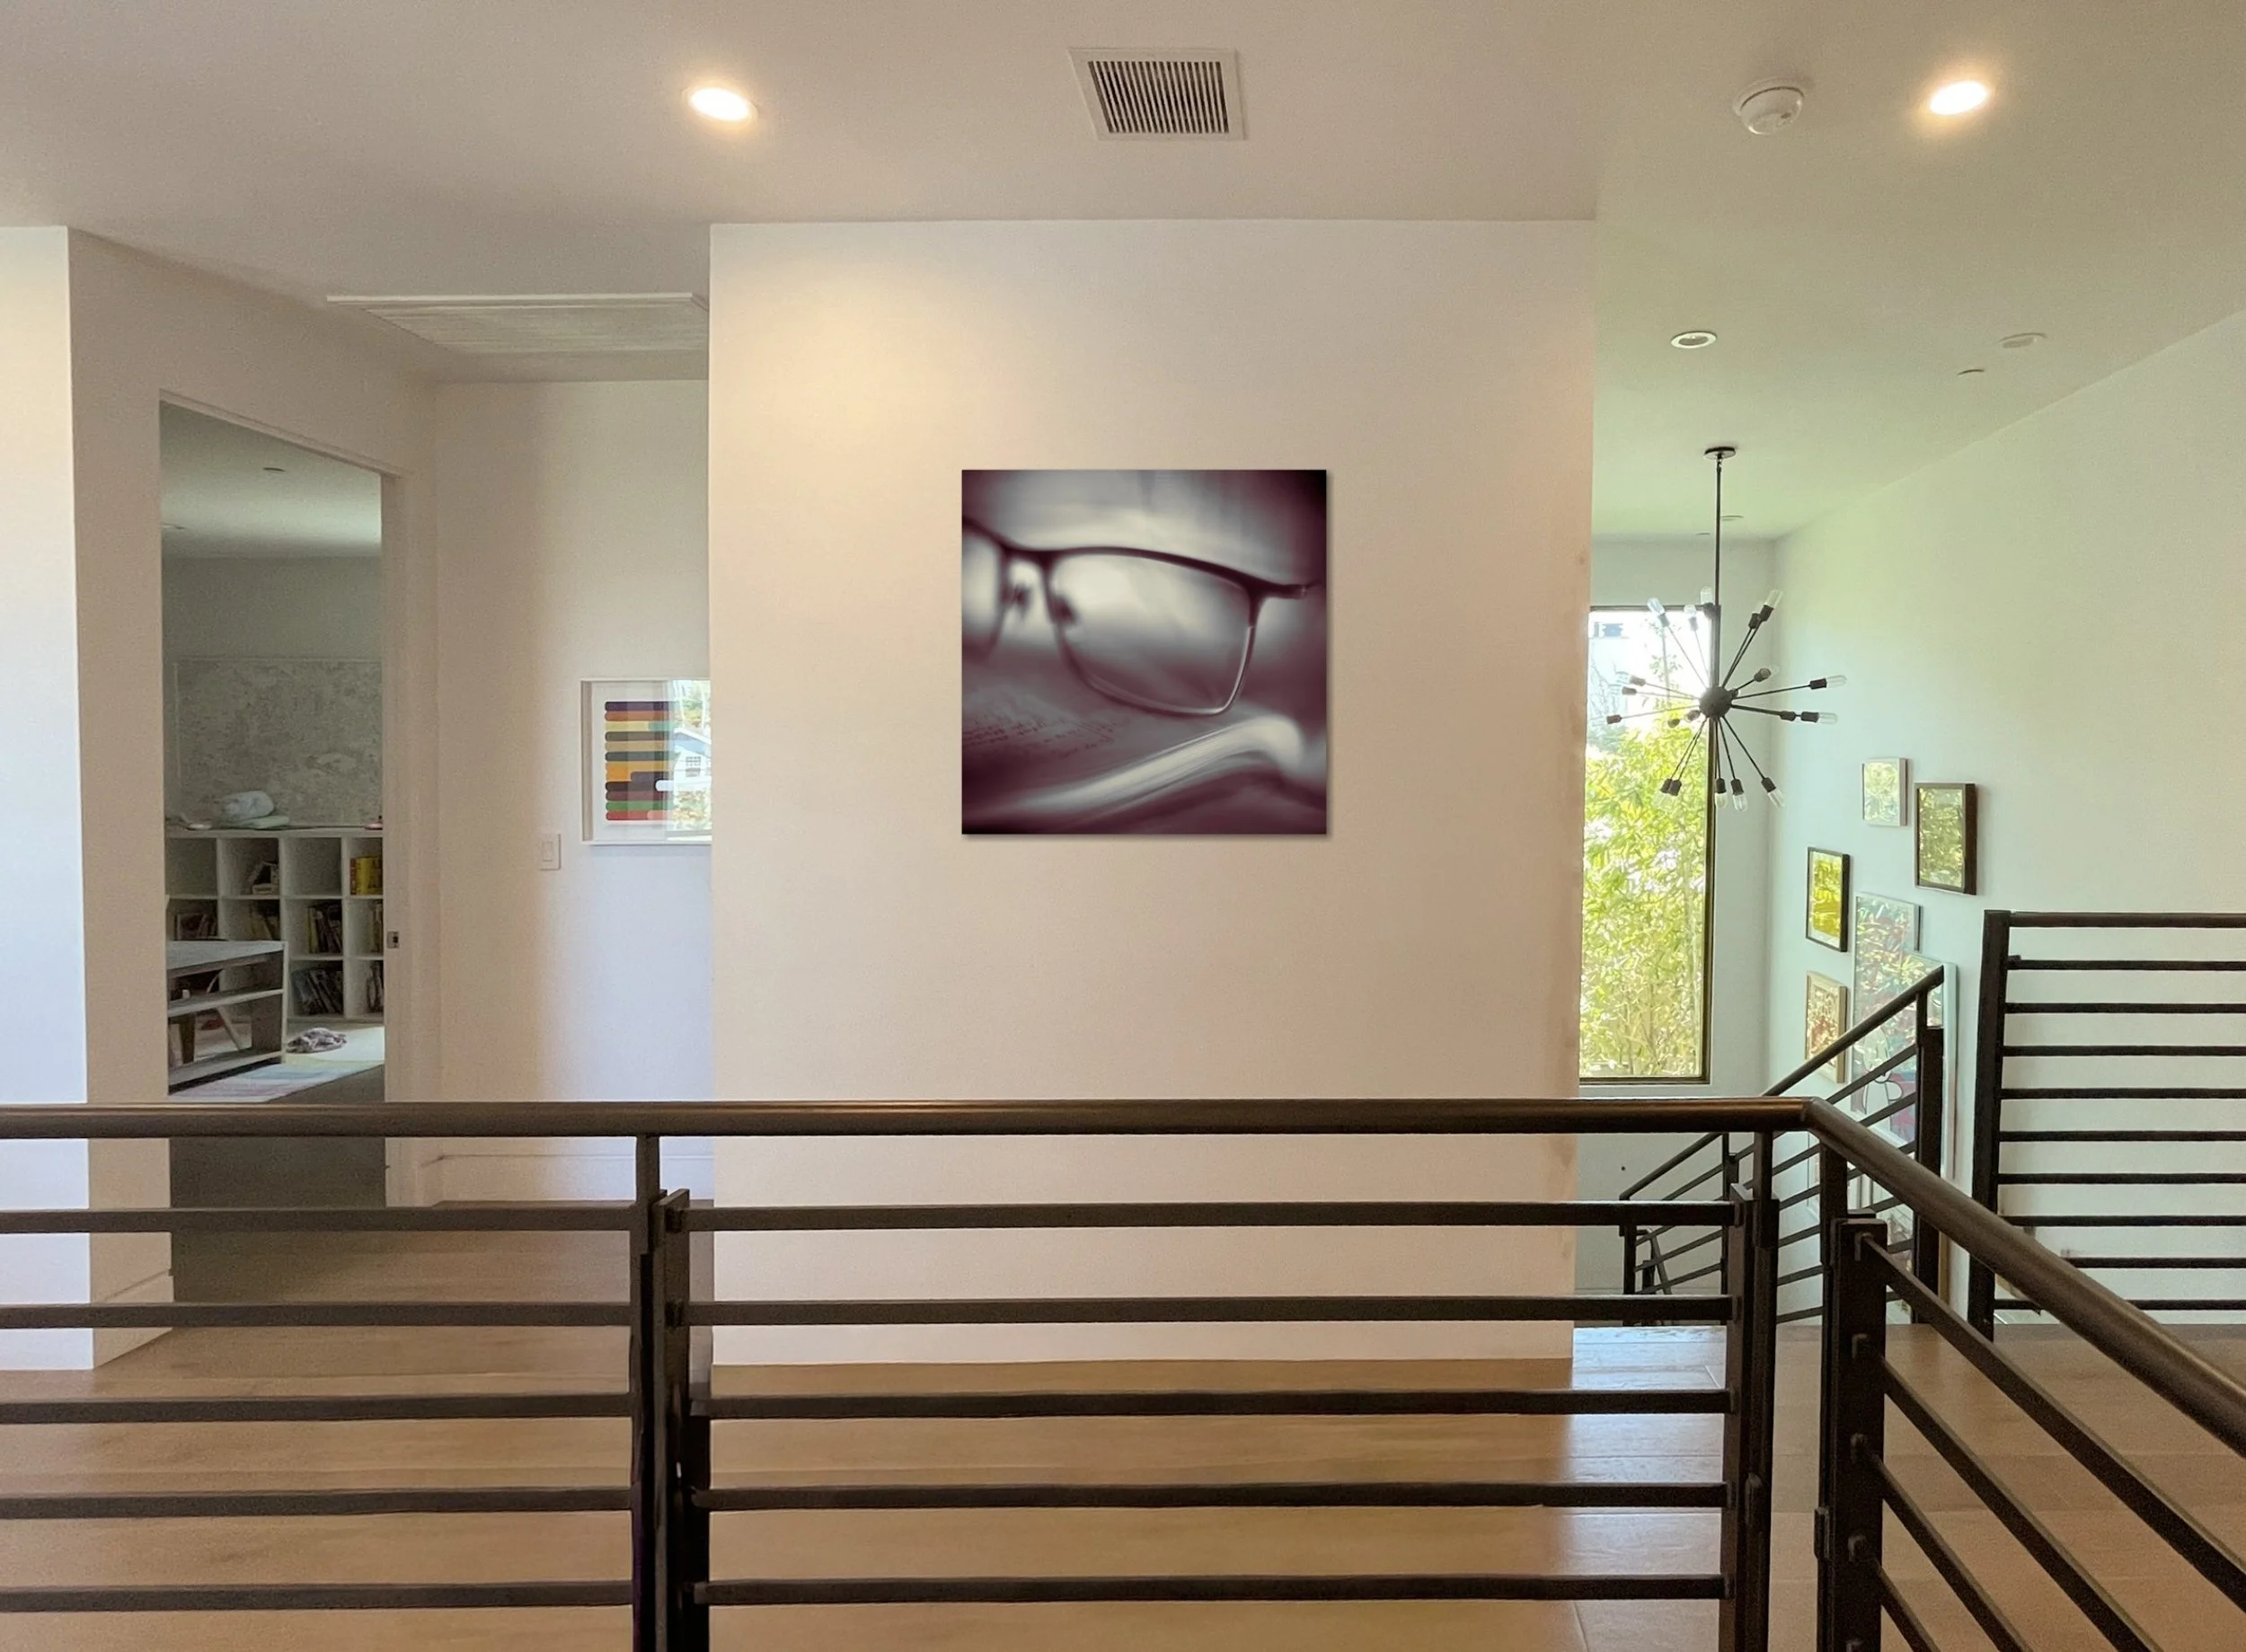
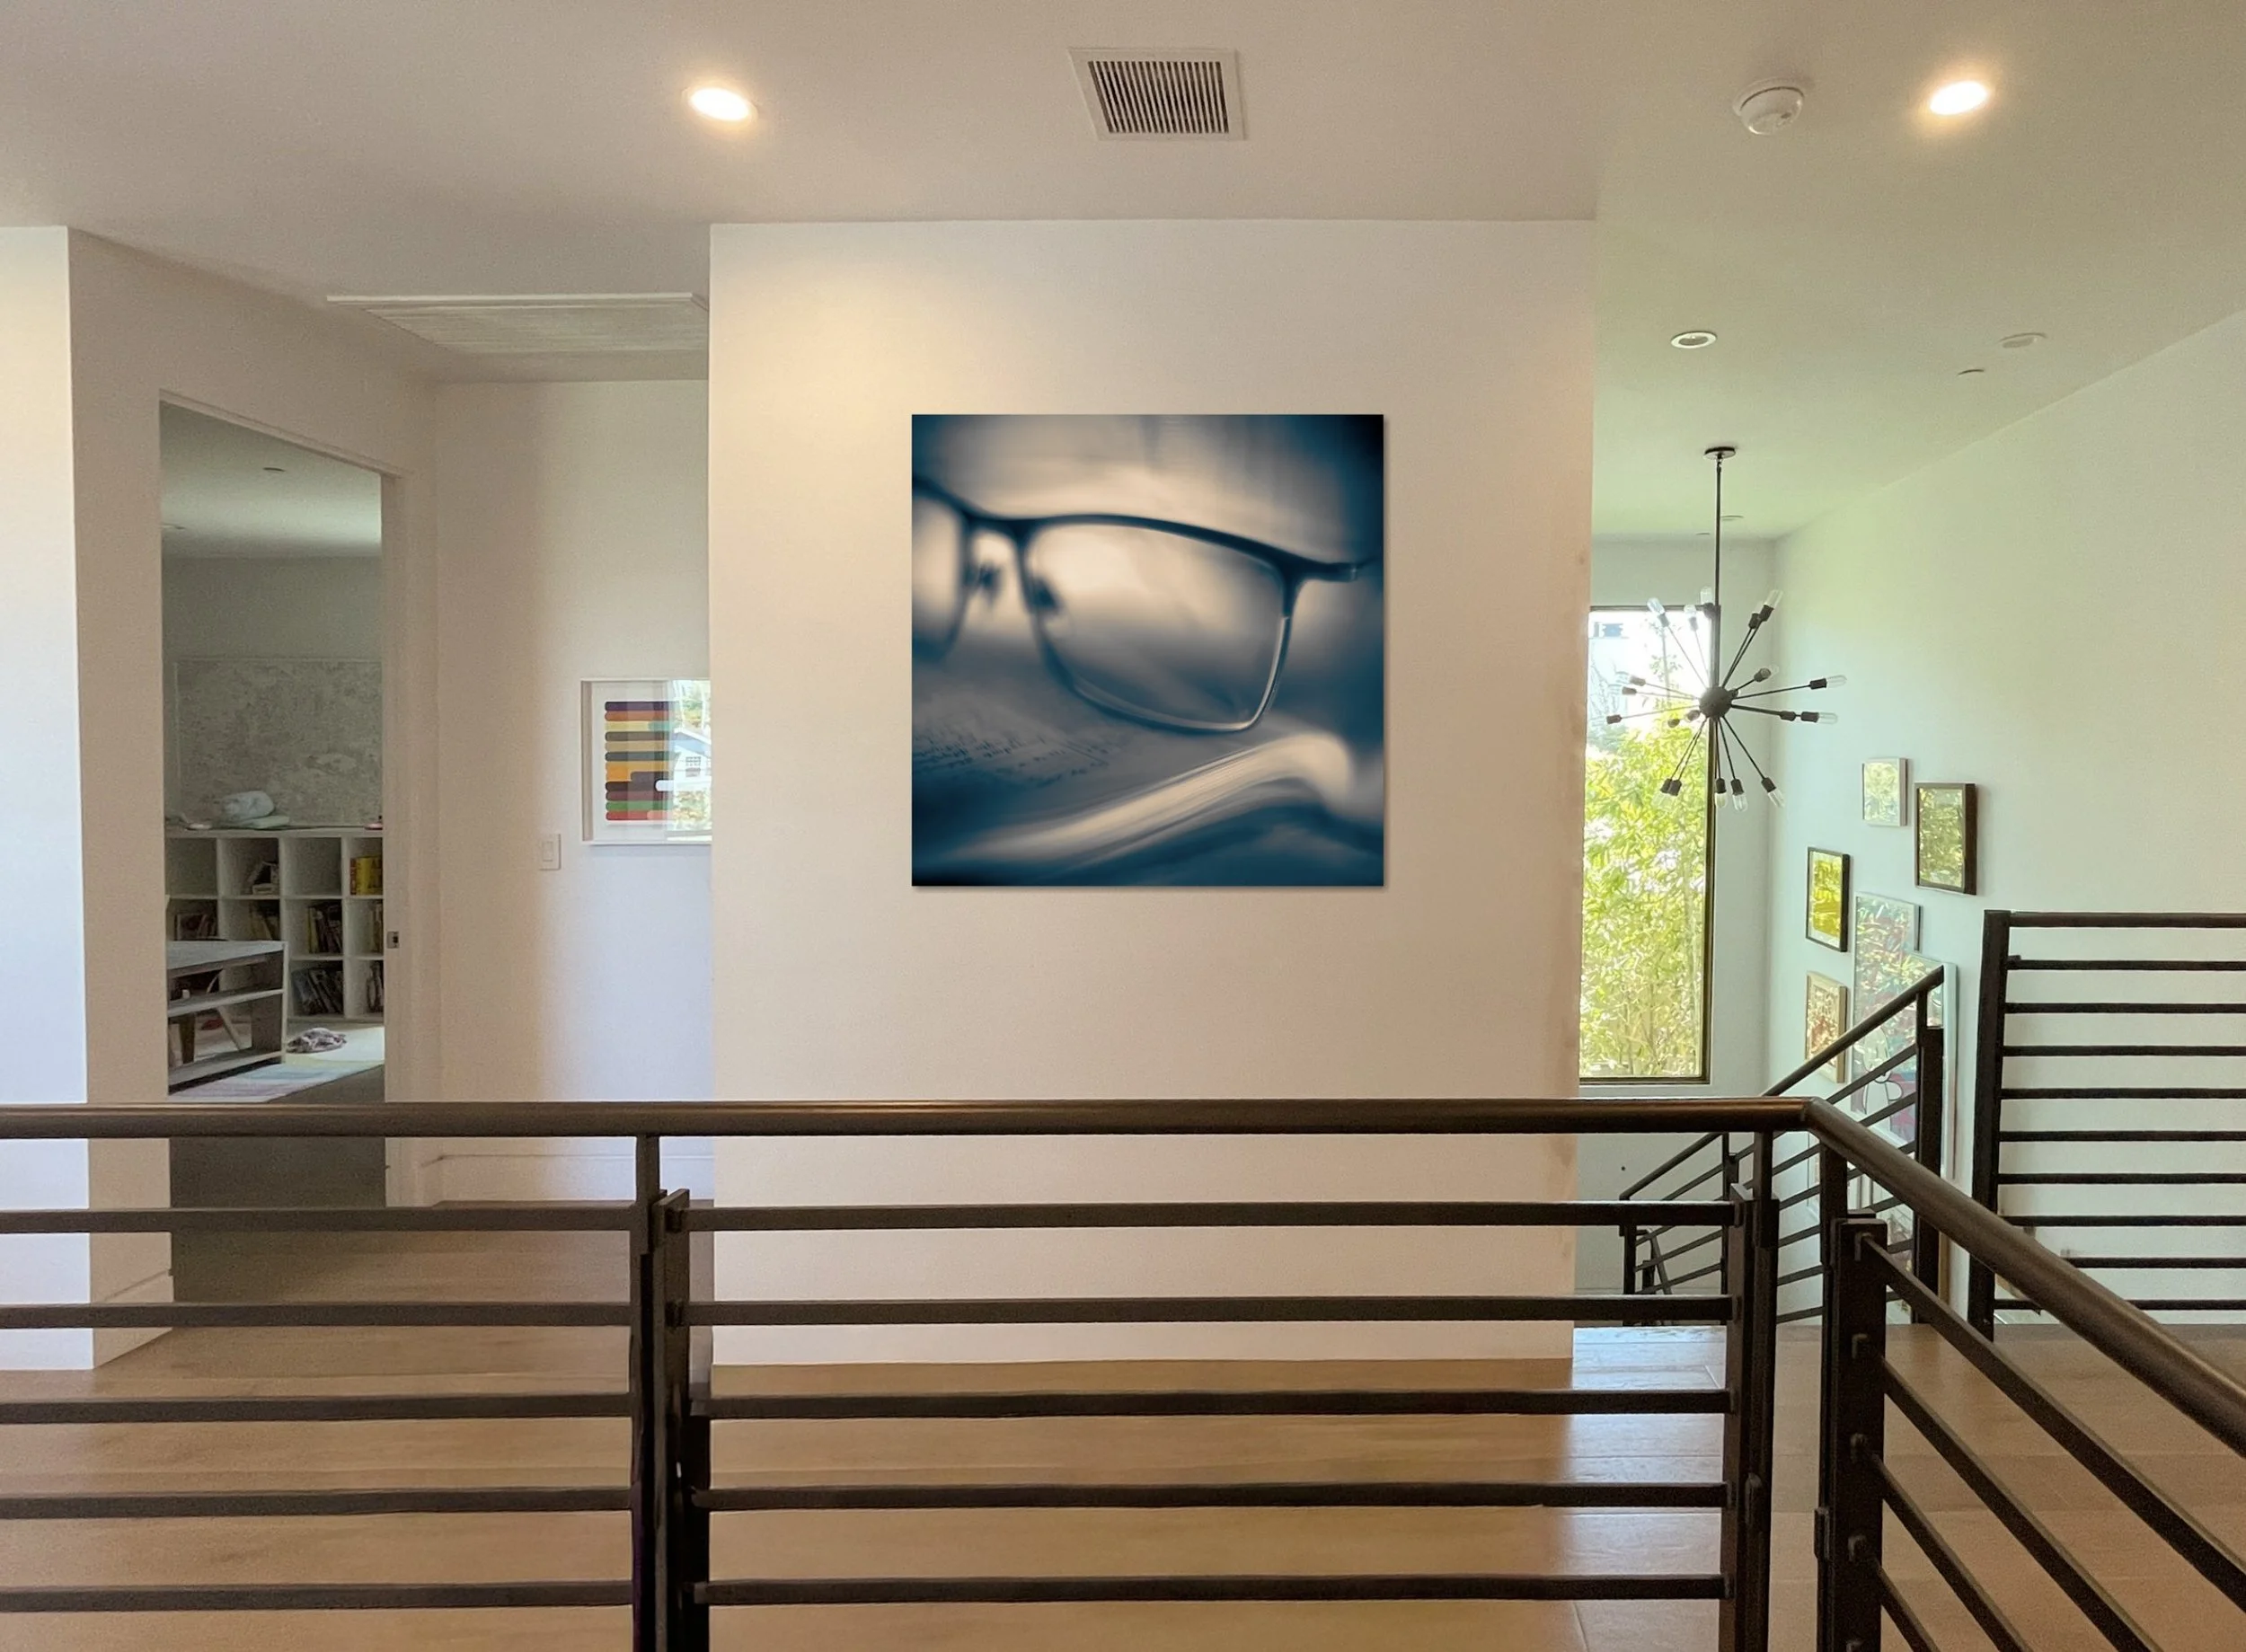
Using a properly photographed wall, my software previews SIZE and COLOR so you can choose with confidence.
How to Photograph Your Walls
(1) Identify three to seven walls in your home and office where you would consider displaying your artwork.
(Options are key)
(2) Tape a standard 8.5x11 piece of paper to the wall in approximate place you are considering for your new artwork.
(Please make sure the paper is at least a slightly different color than the wall)
(3) Stand to the back of the room and use your widest lens, holding your phone horizontally.
(Normally the .5 lens)
(4) Adjust your phone so it flat/parallel/straight-on to the wall to take a wide snapshot of the room that includes the wall.
(Don’t let the wall be at an angle, and it’s ok if the paper or wall isn’t centred in the frame - the key thing is keeping the wall square)
Send by email to rooms@halperfineart.com at “large” or “actual” size at least five days in advance of our meeting.
It is preferable to take existing artwork off the wall, but not necessary.
In most cases, a horizontal photograph is preferable.
Don’t worry if your home is messy. These don’t need to be perfect.
If you are having trouble, or just want help, I am very happy to help you by phone or text (323) 664-7070. Just reach out!
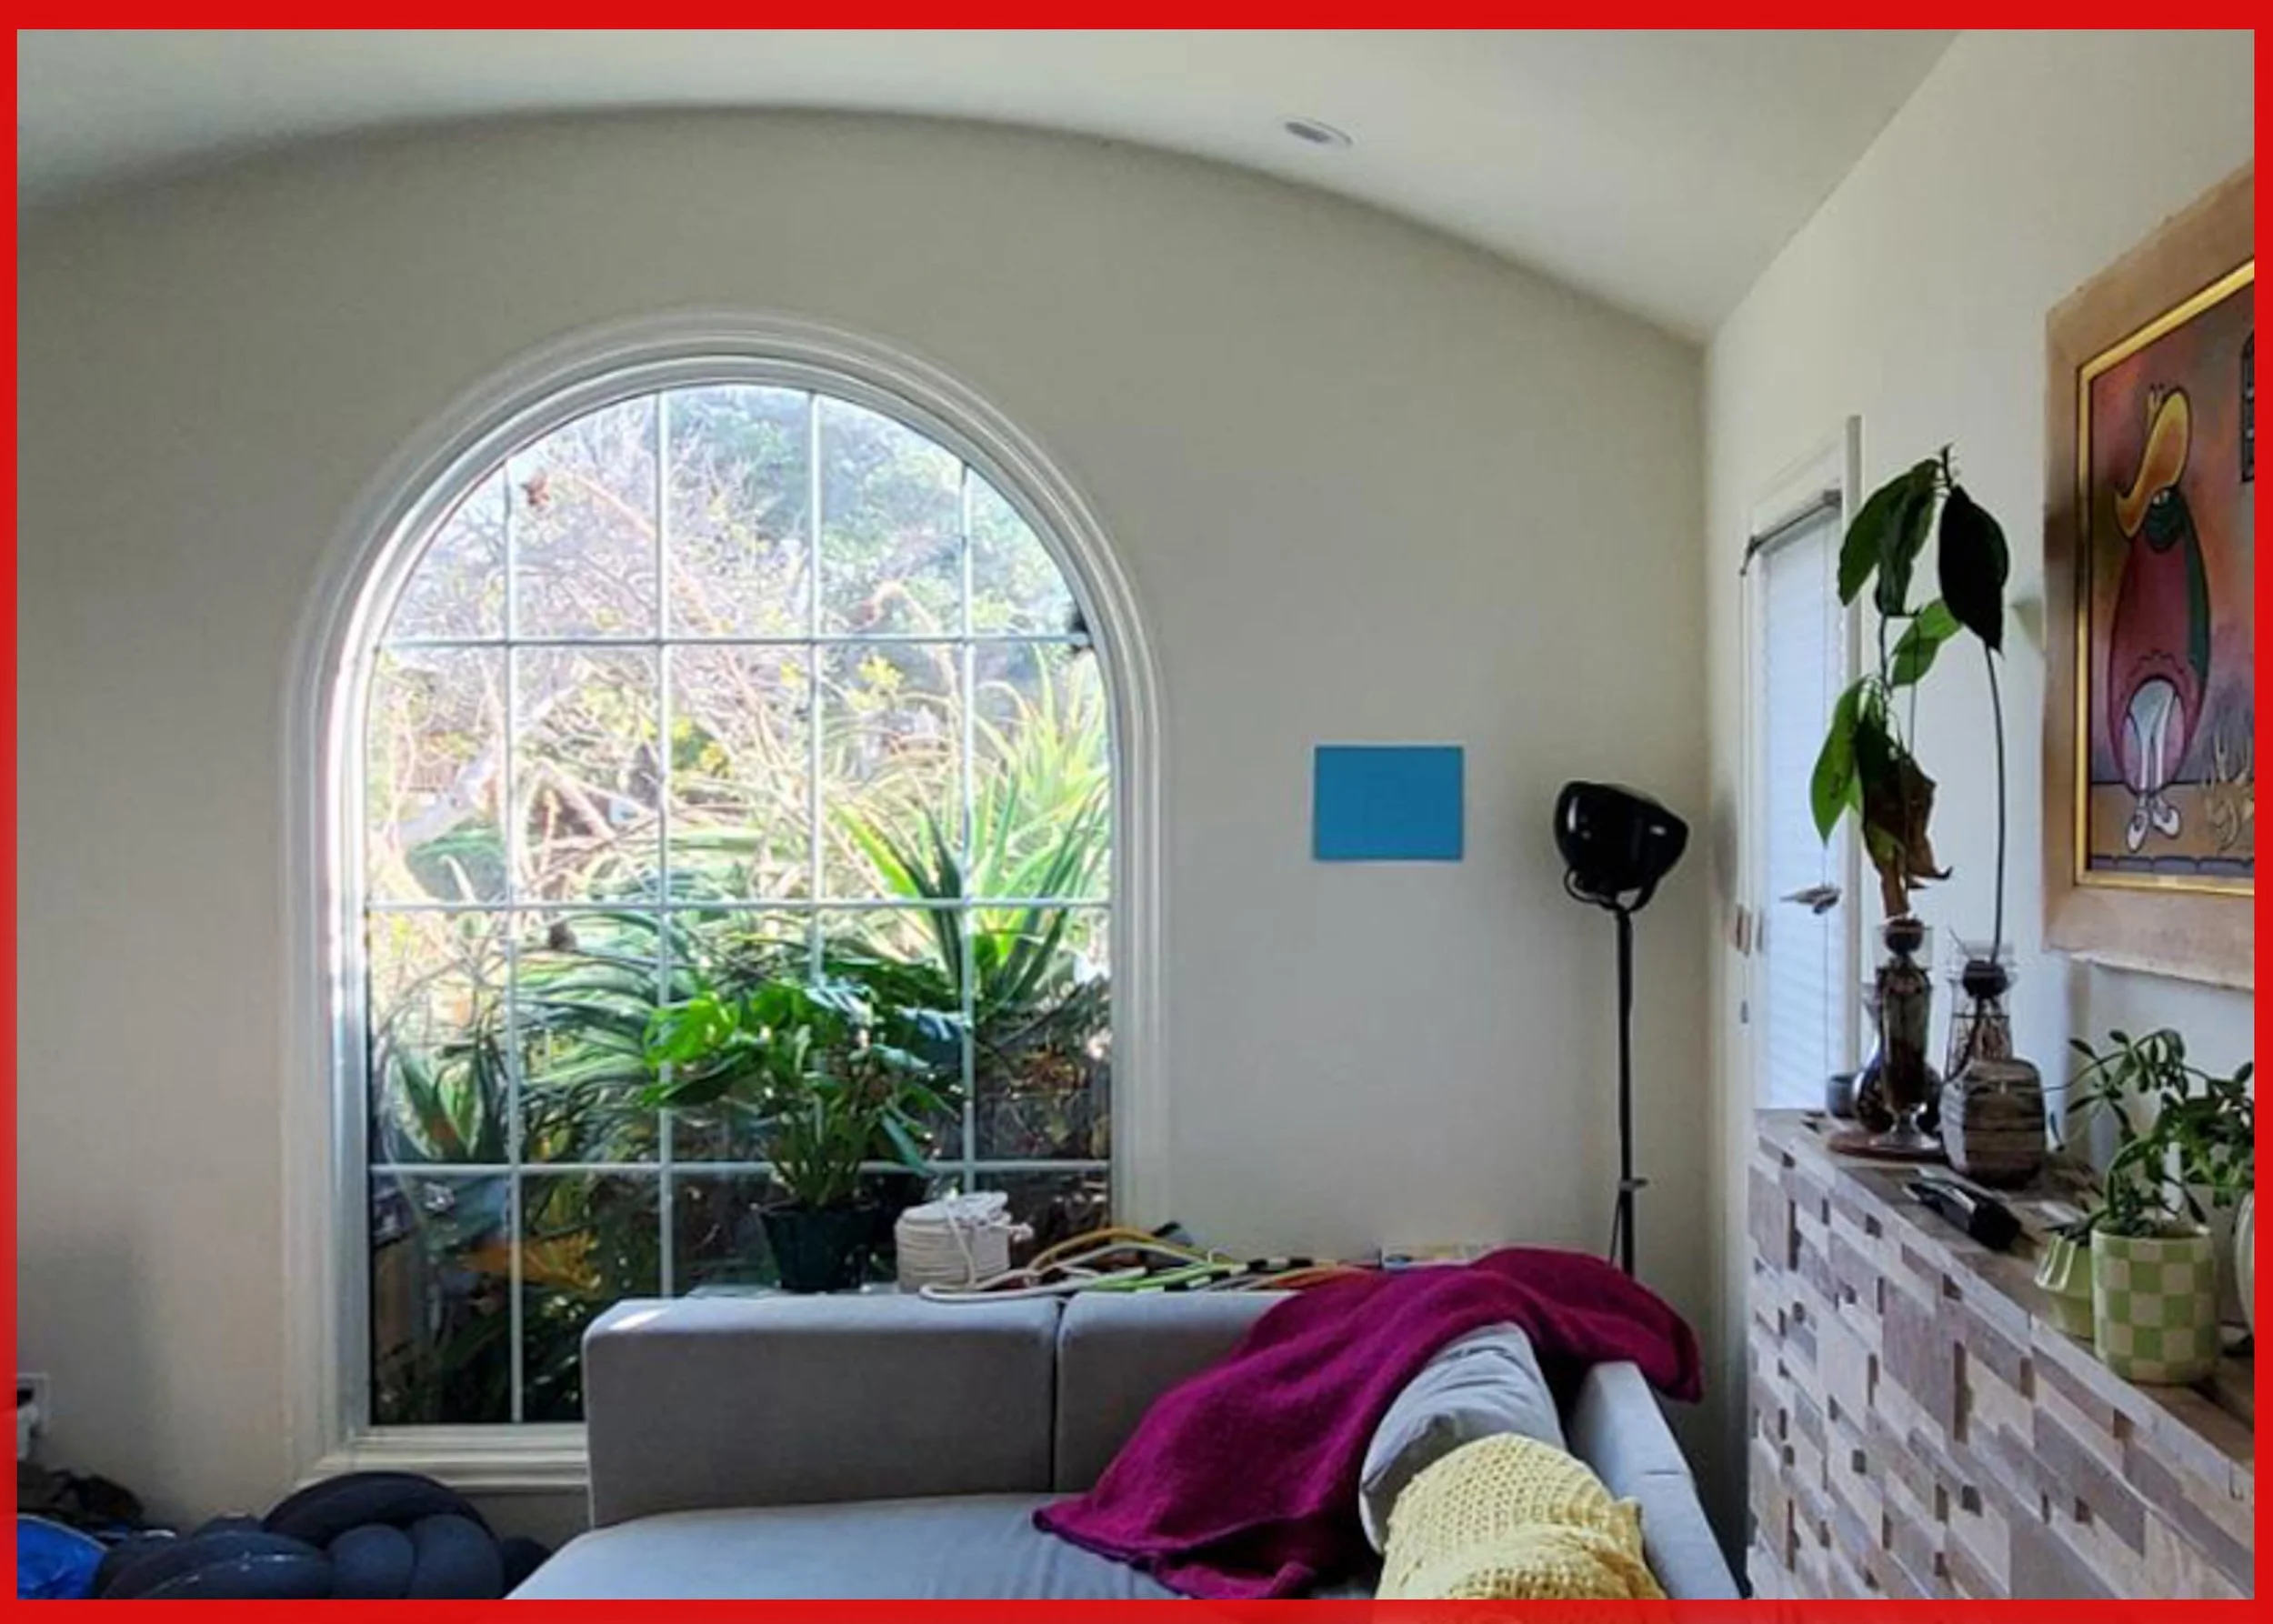
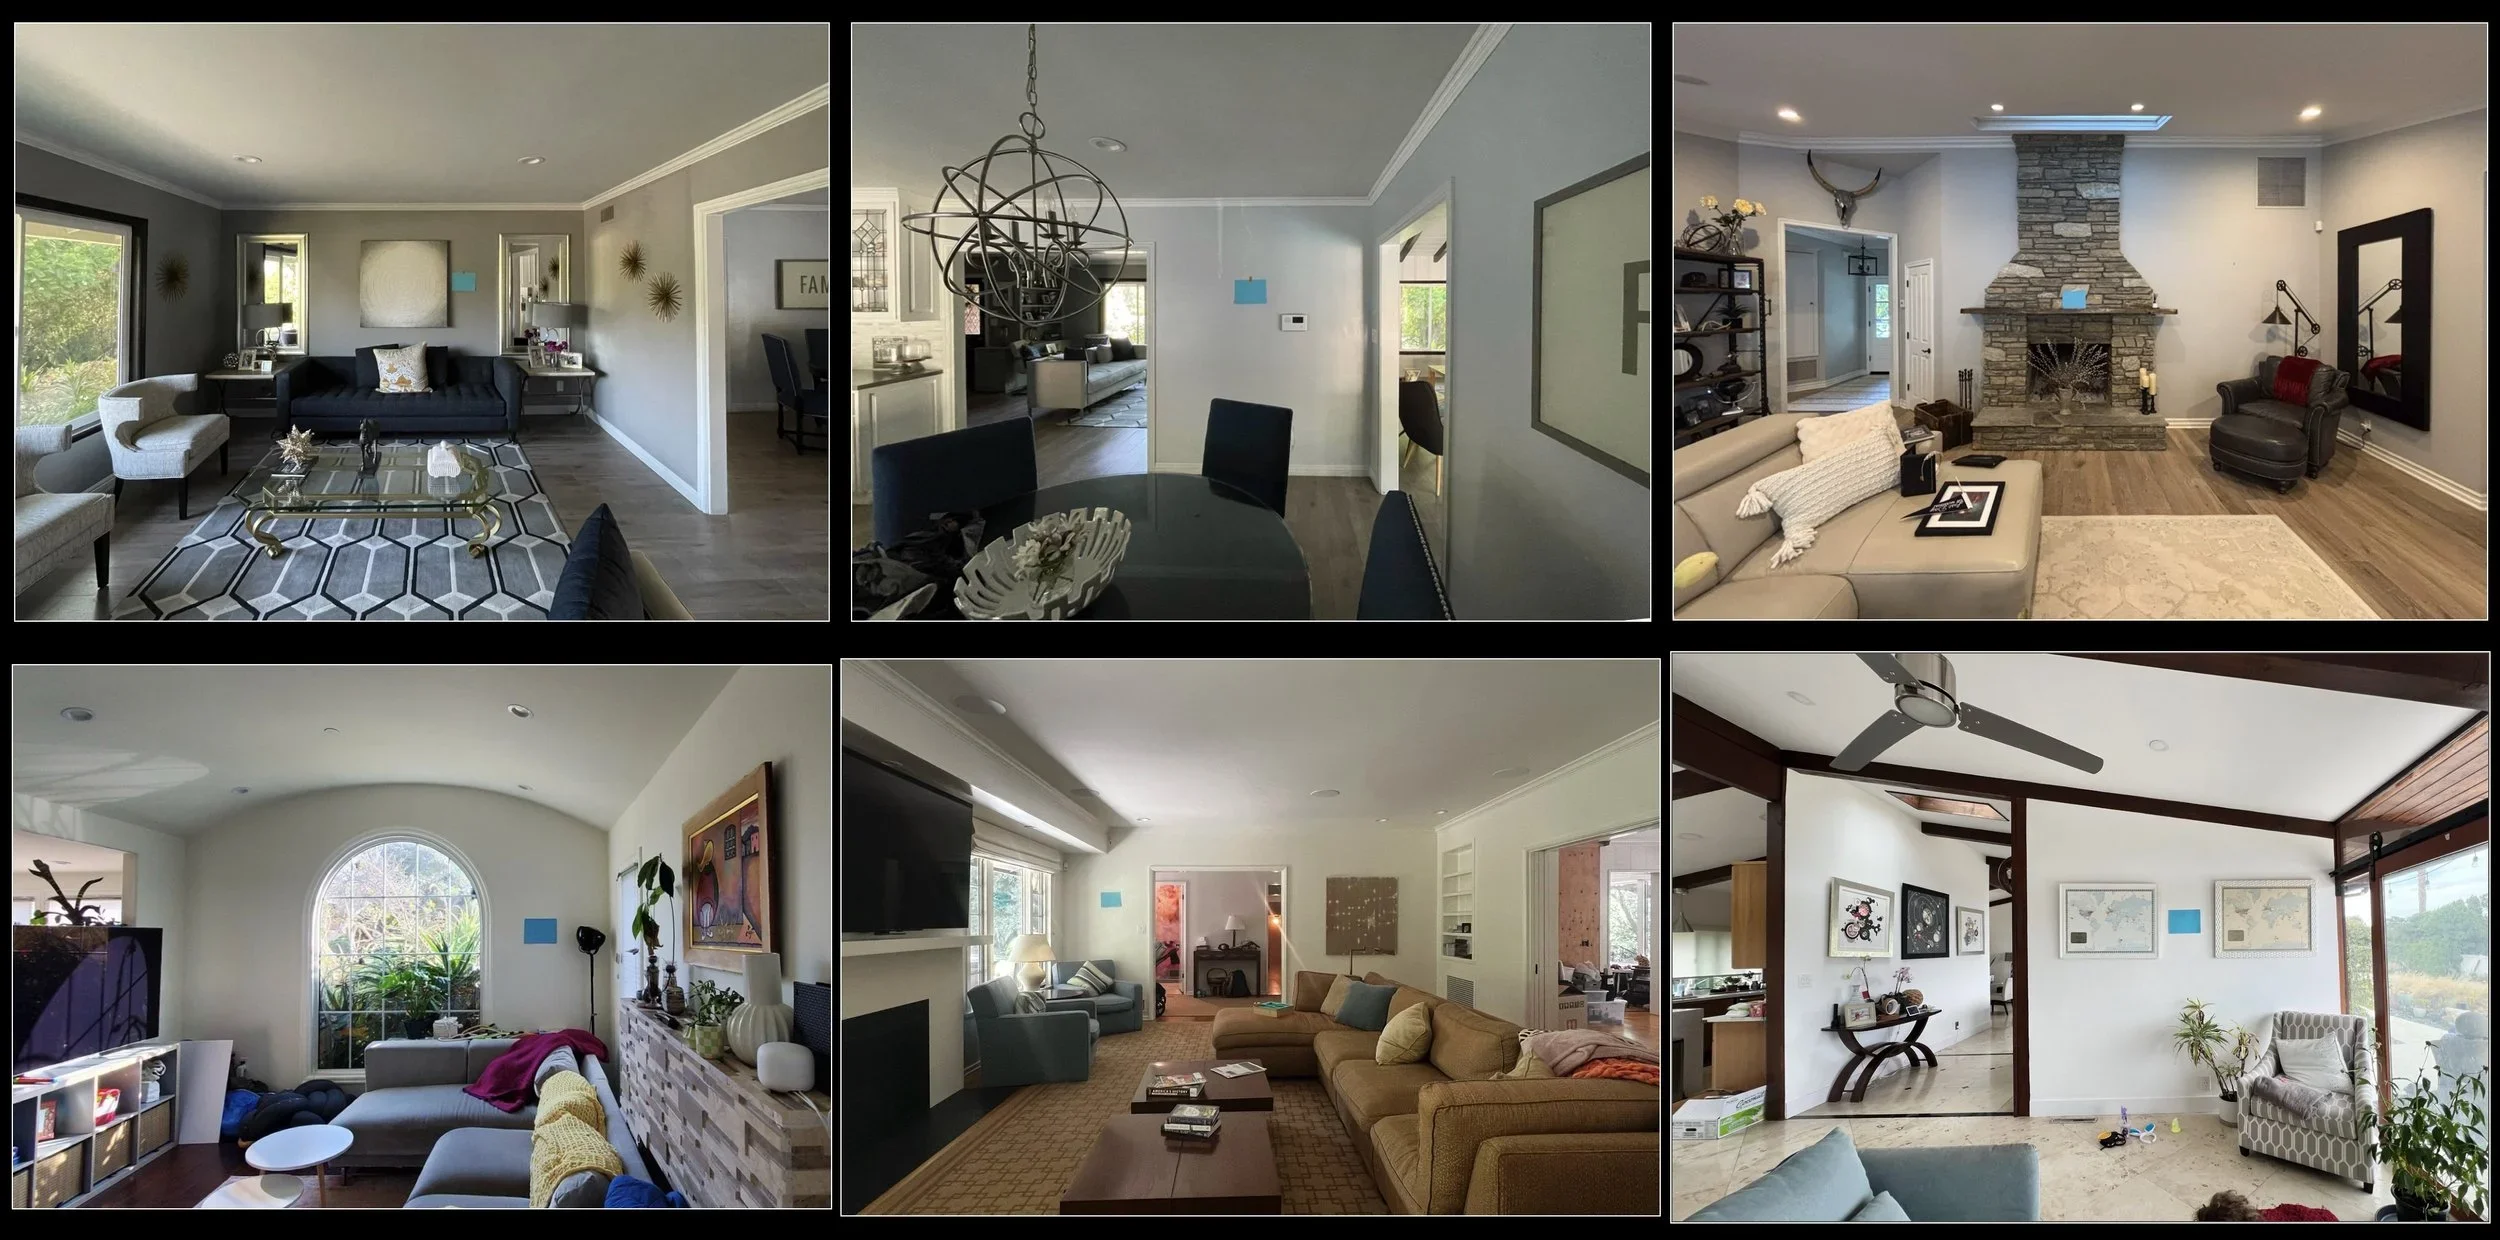
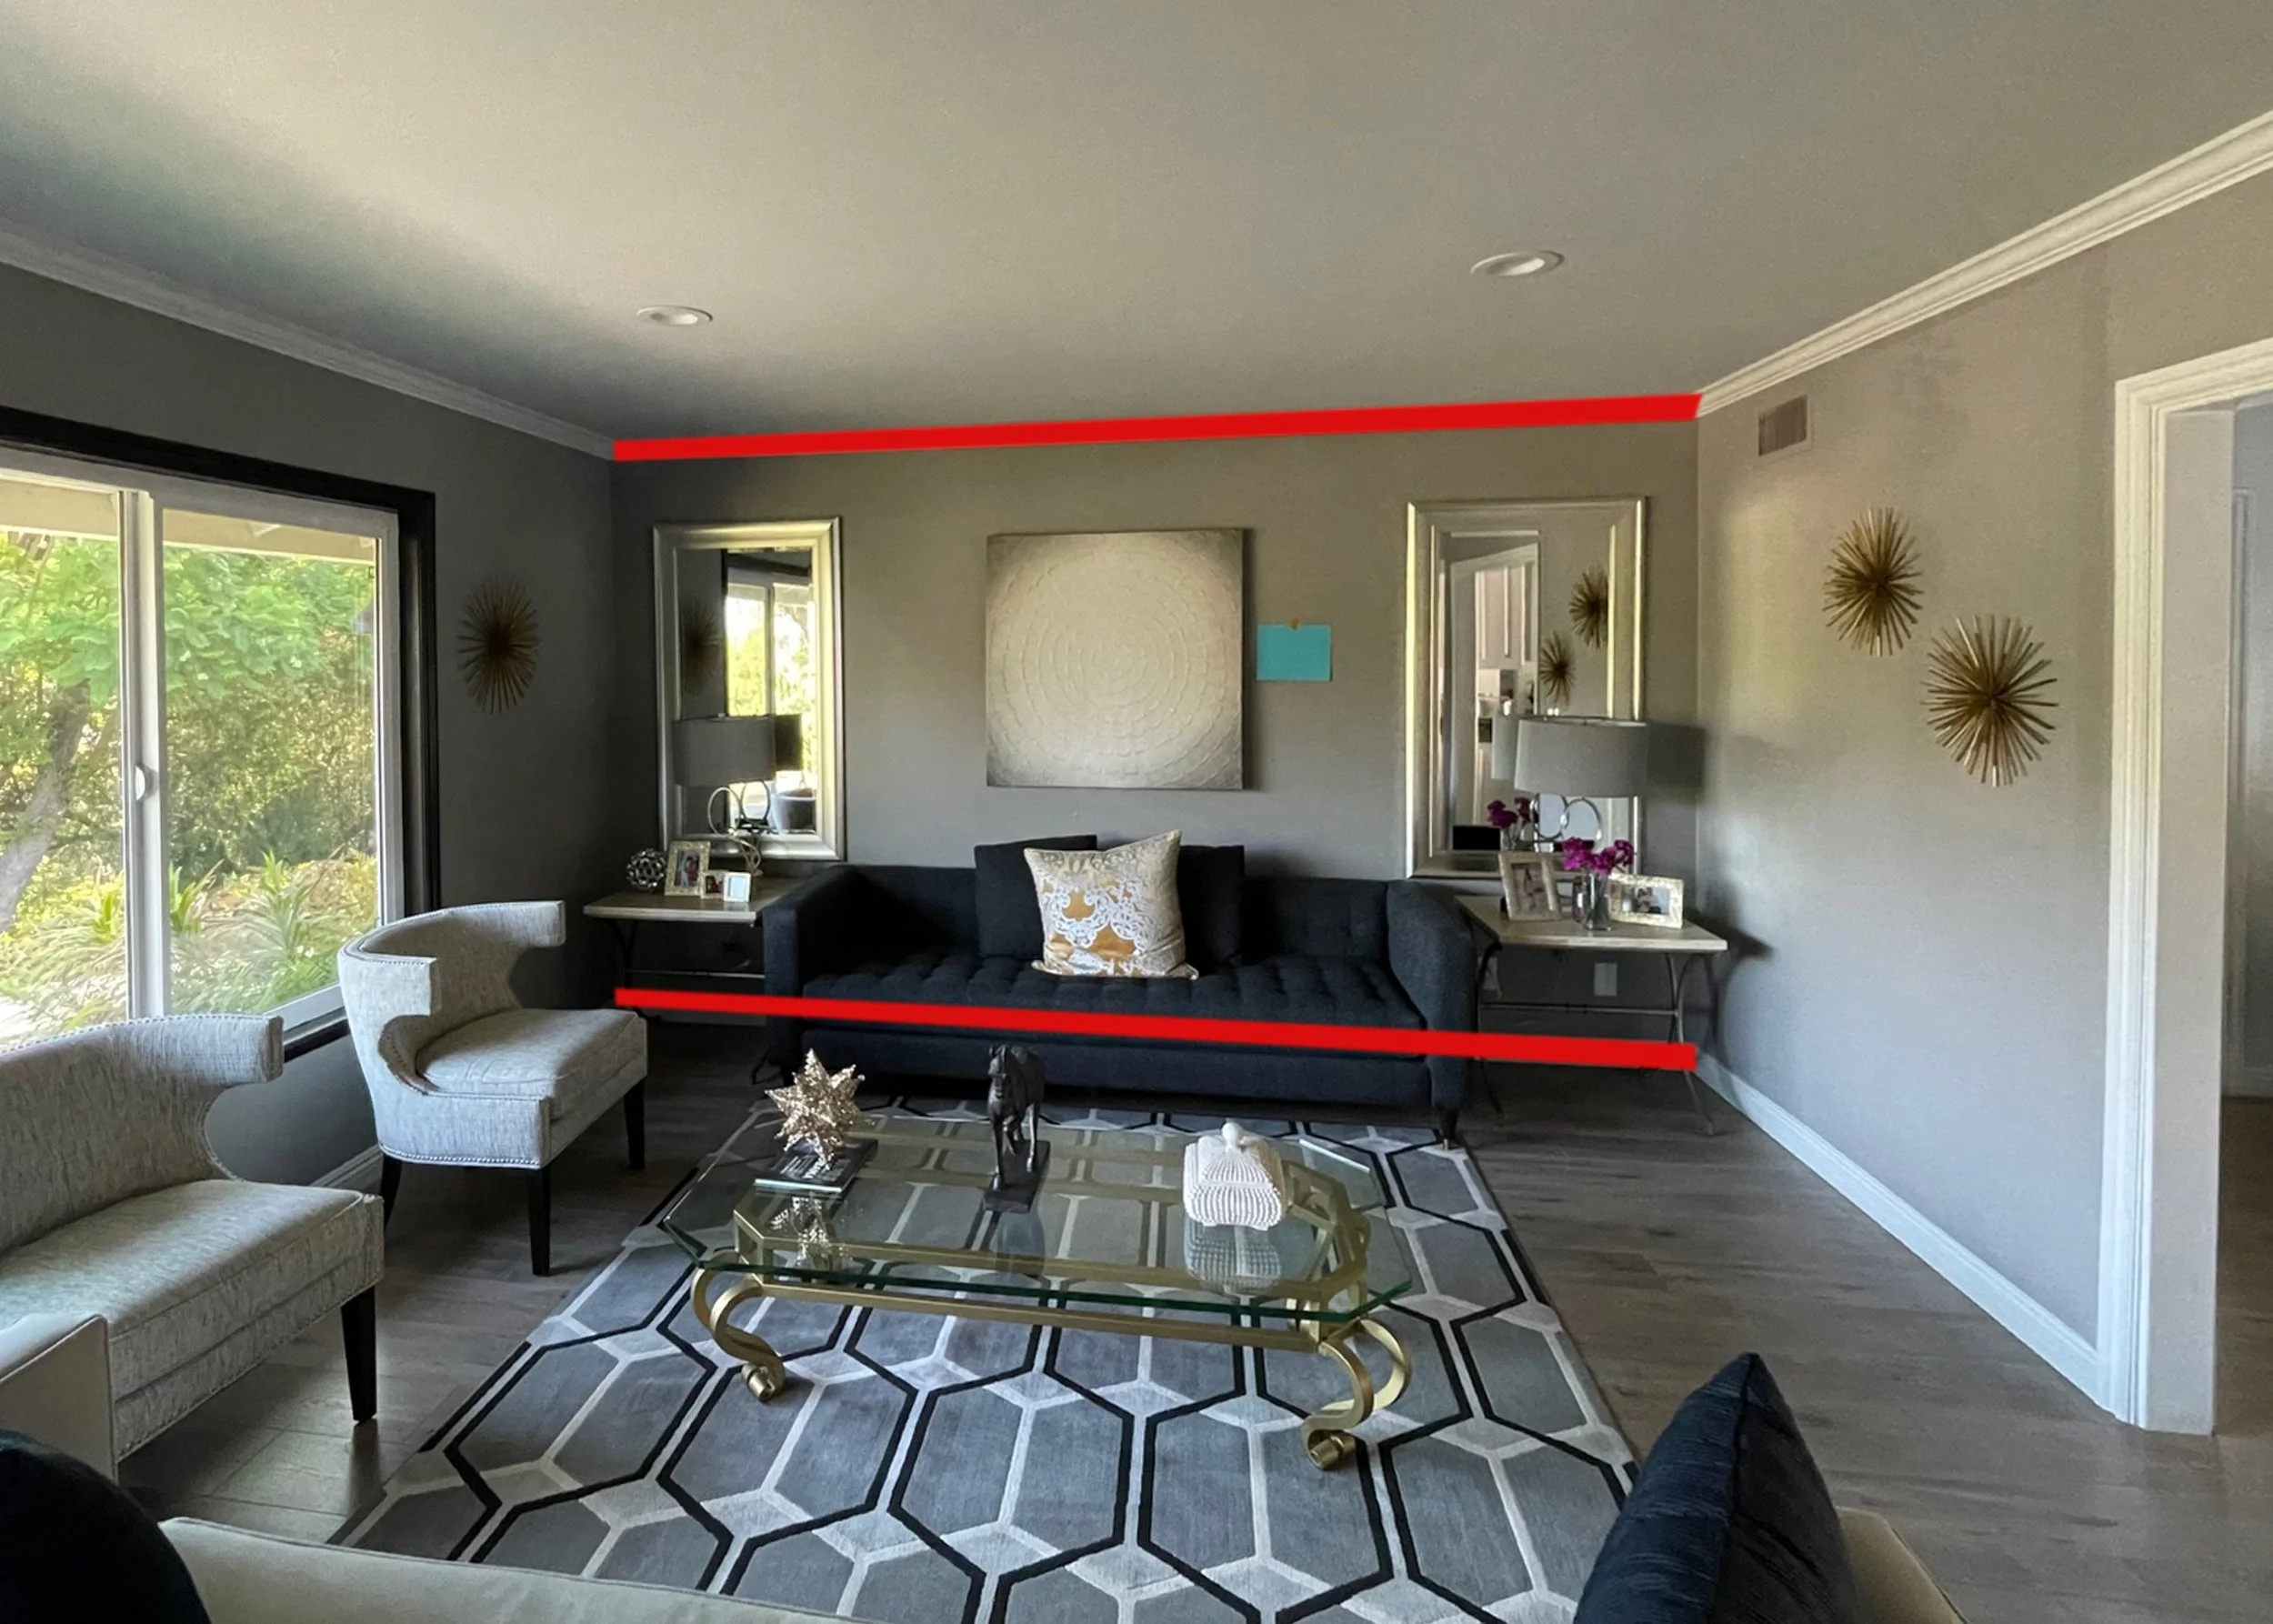
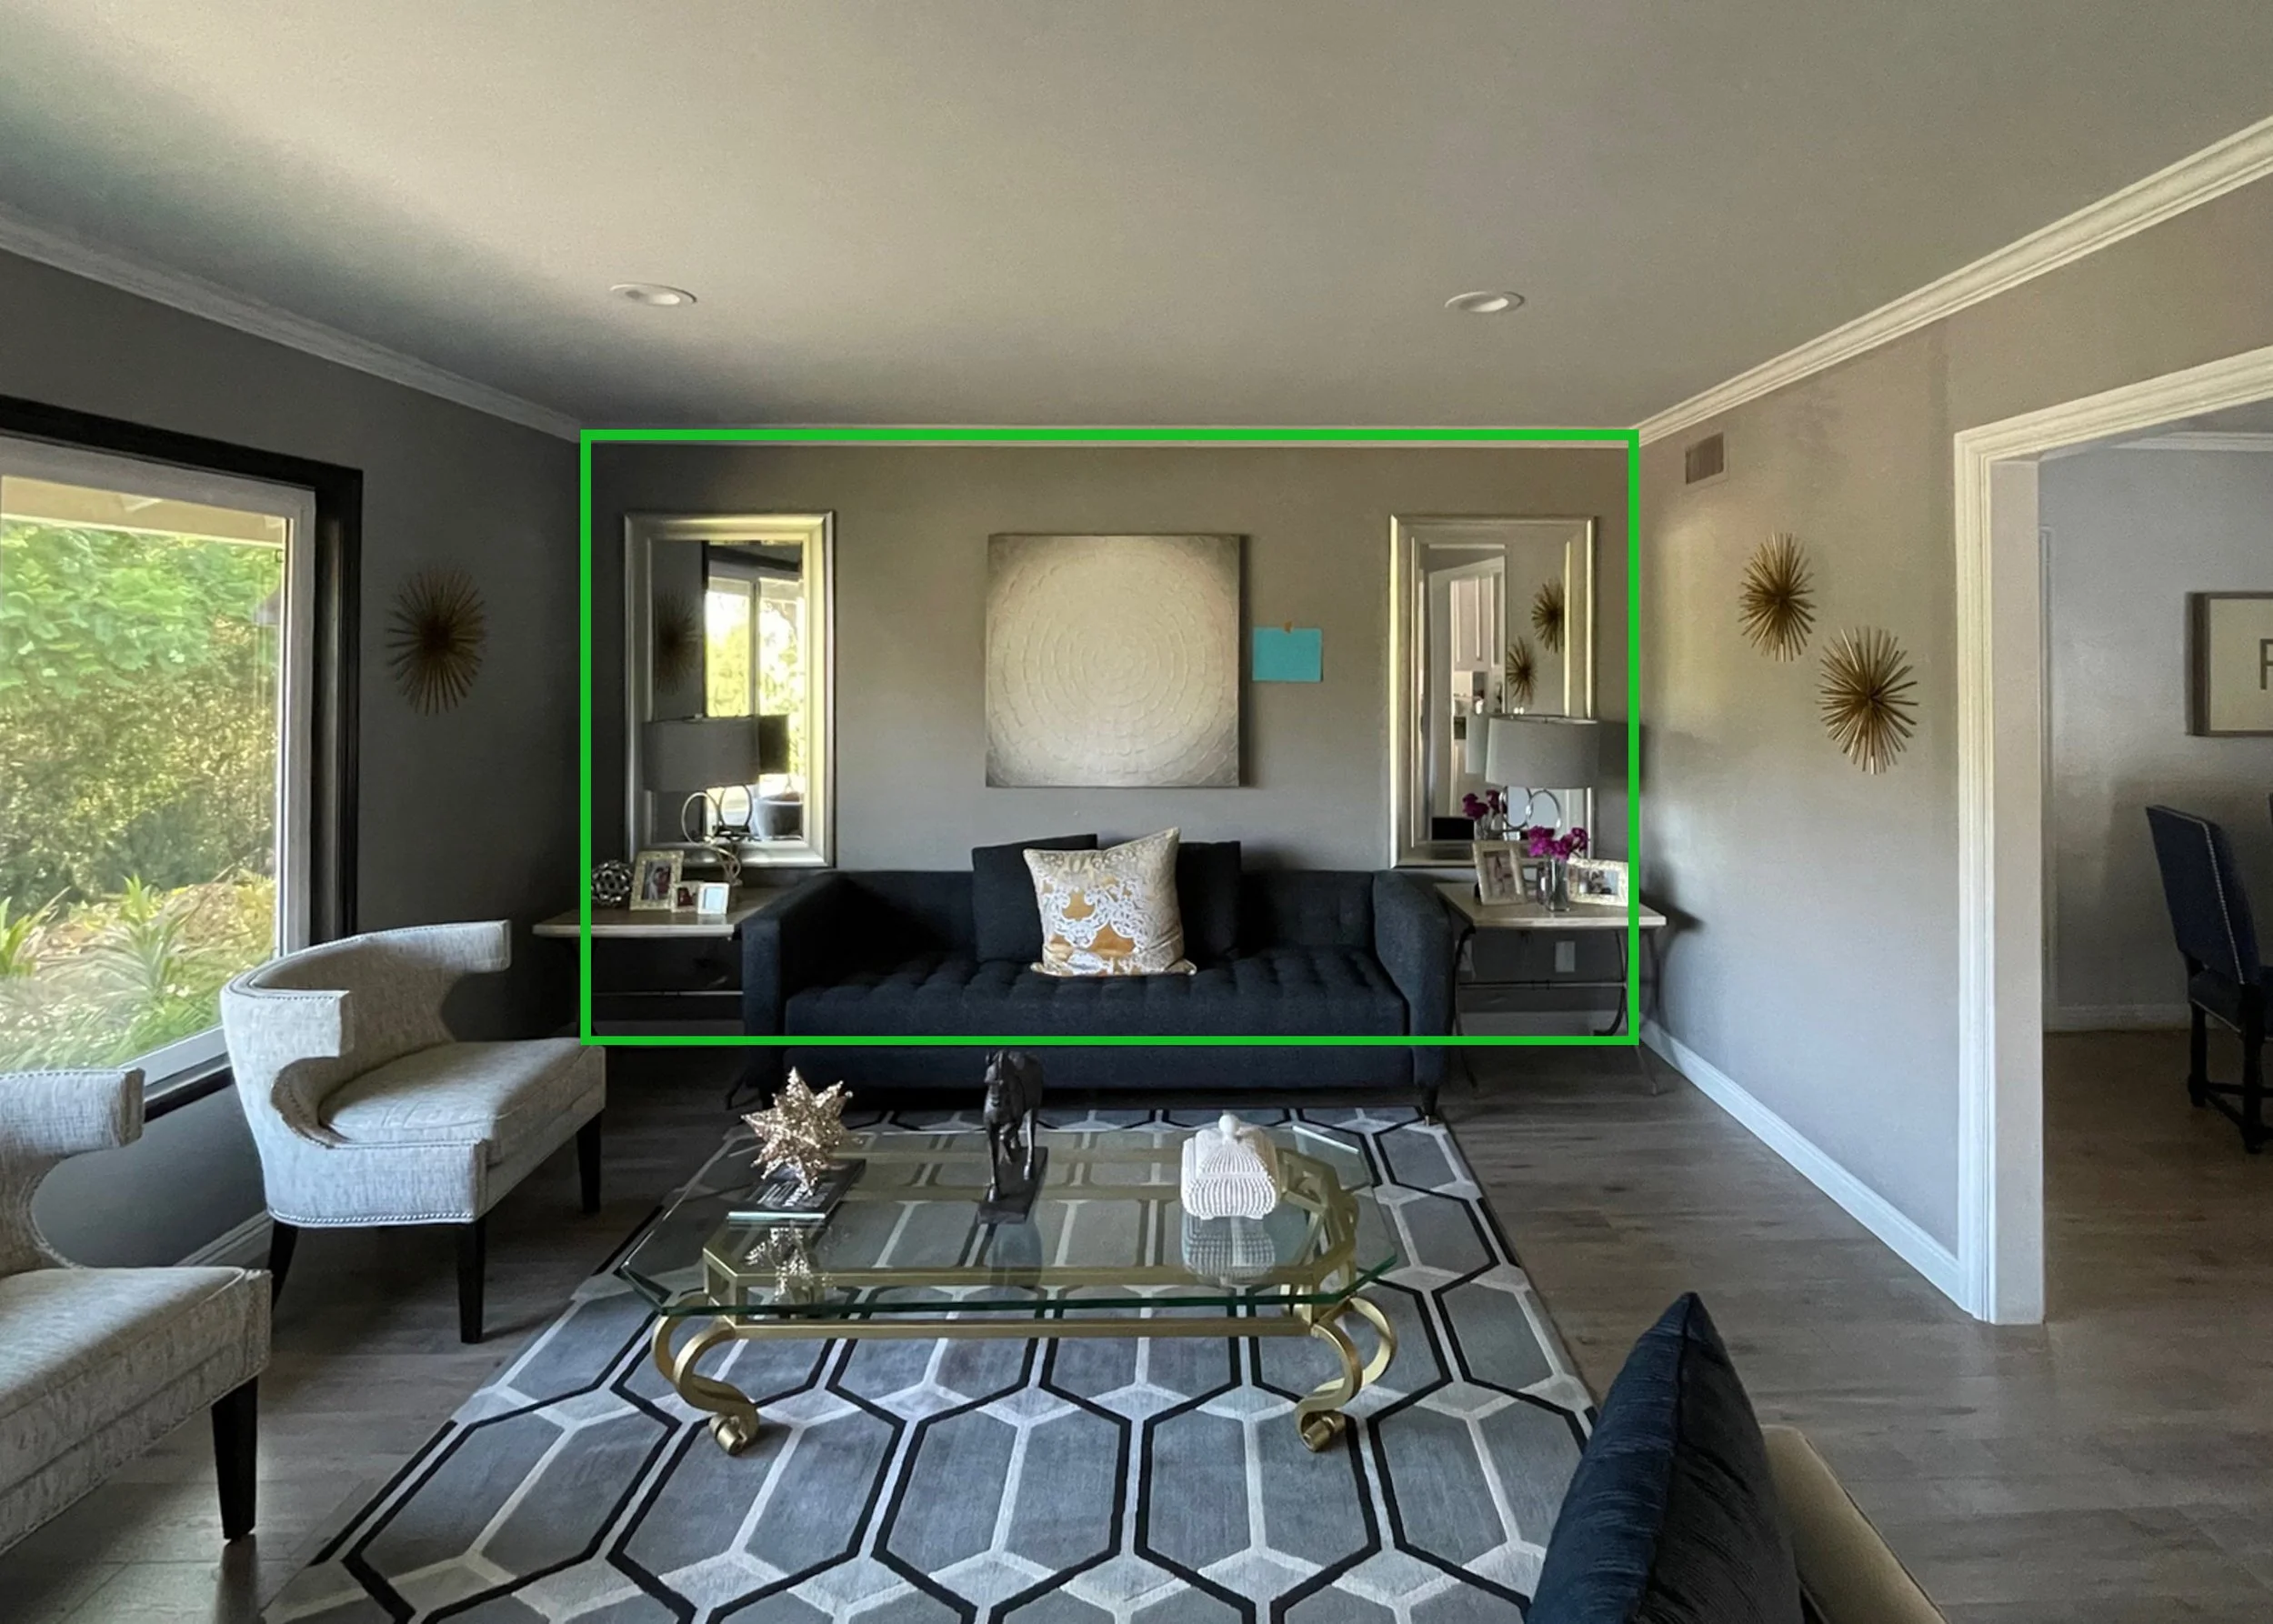
Please stand to the back of the room so your image SHOWS THE WHOLE ROOM so you can see the artwork in your room:
INCORRECT
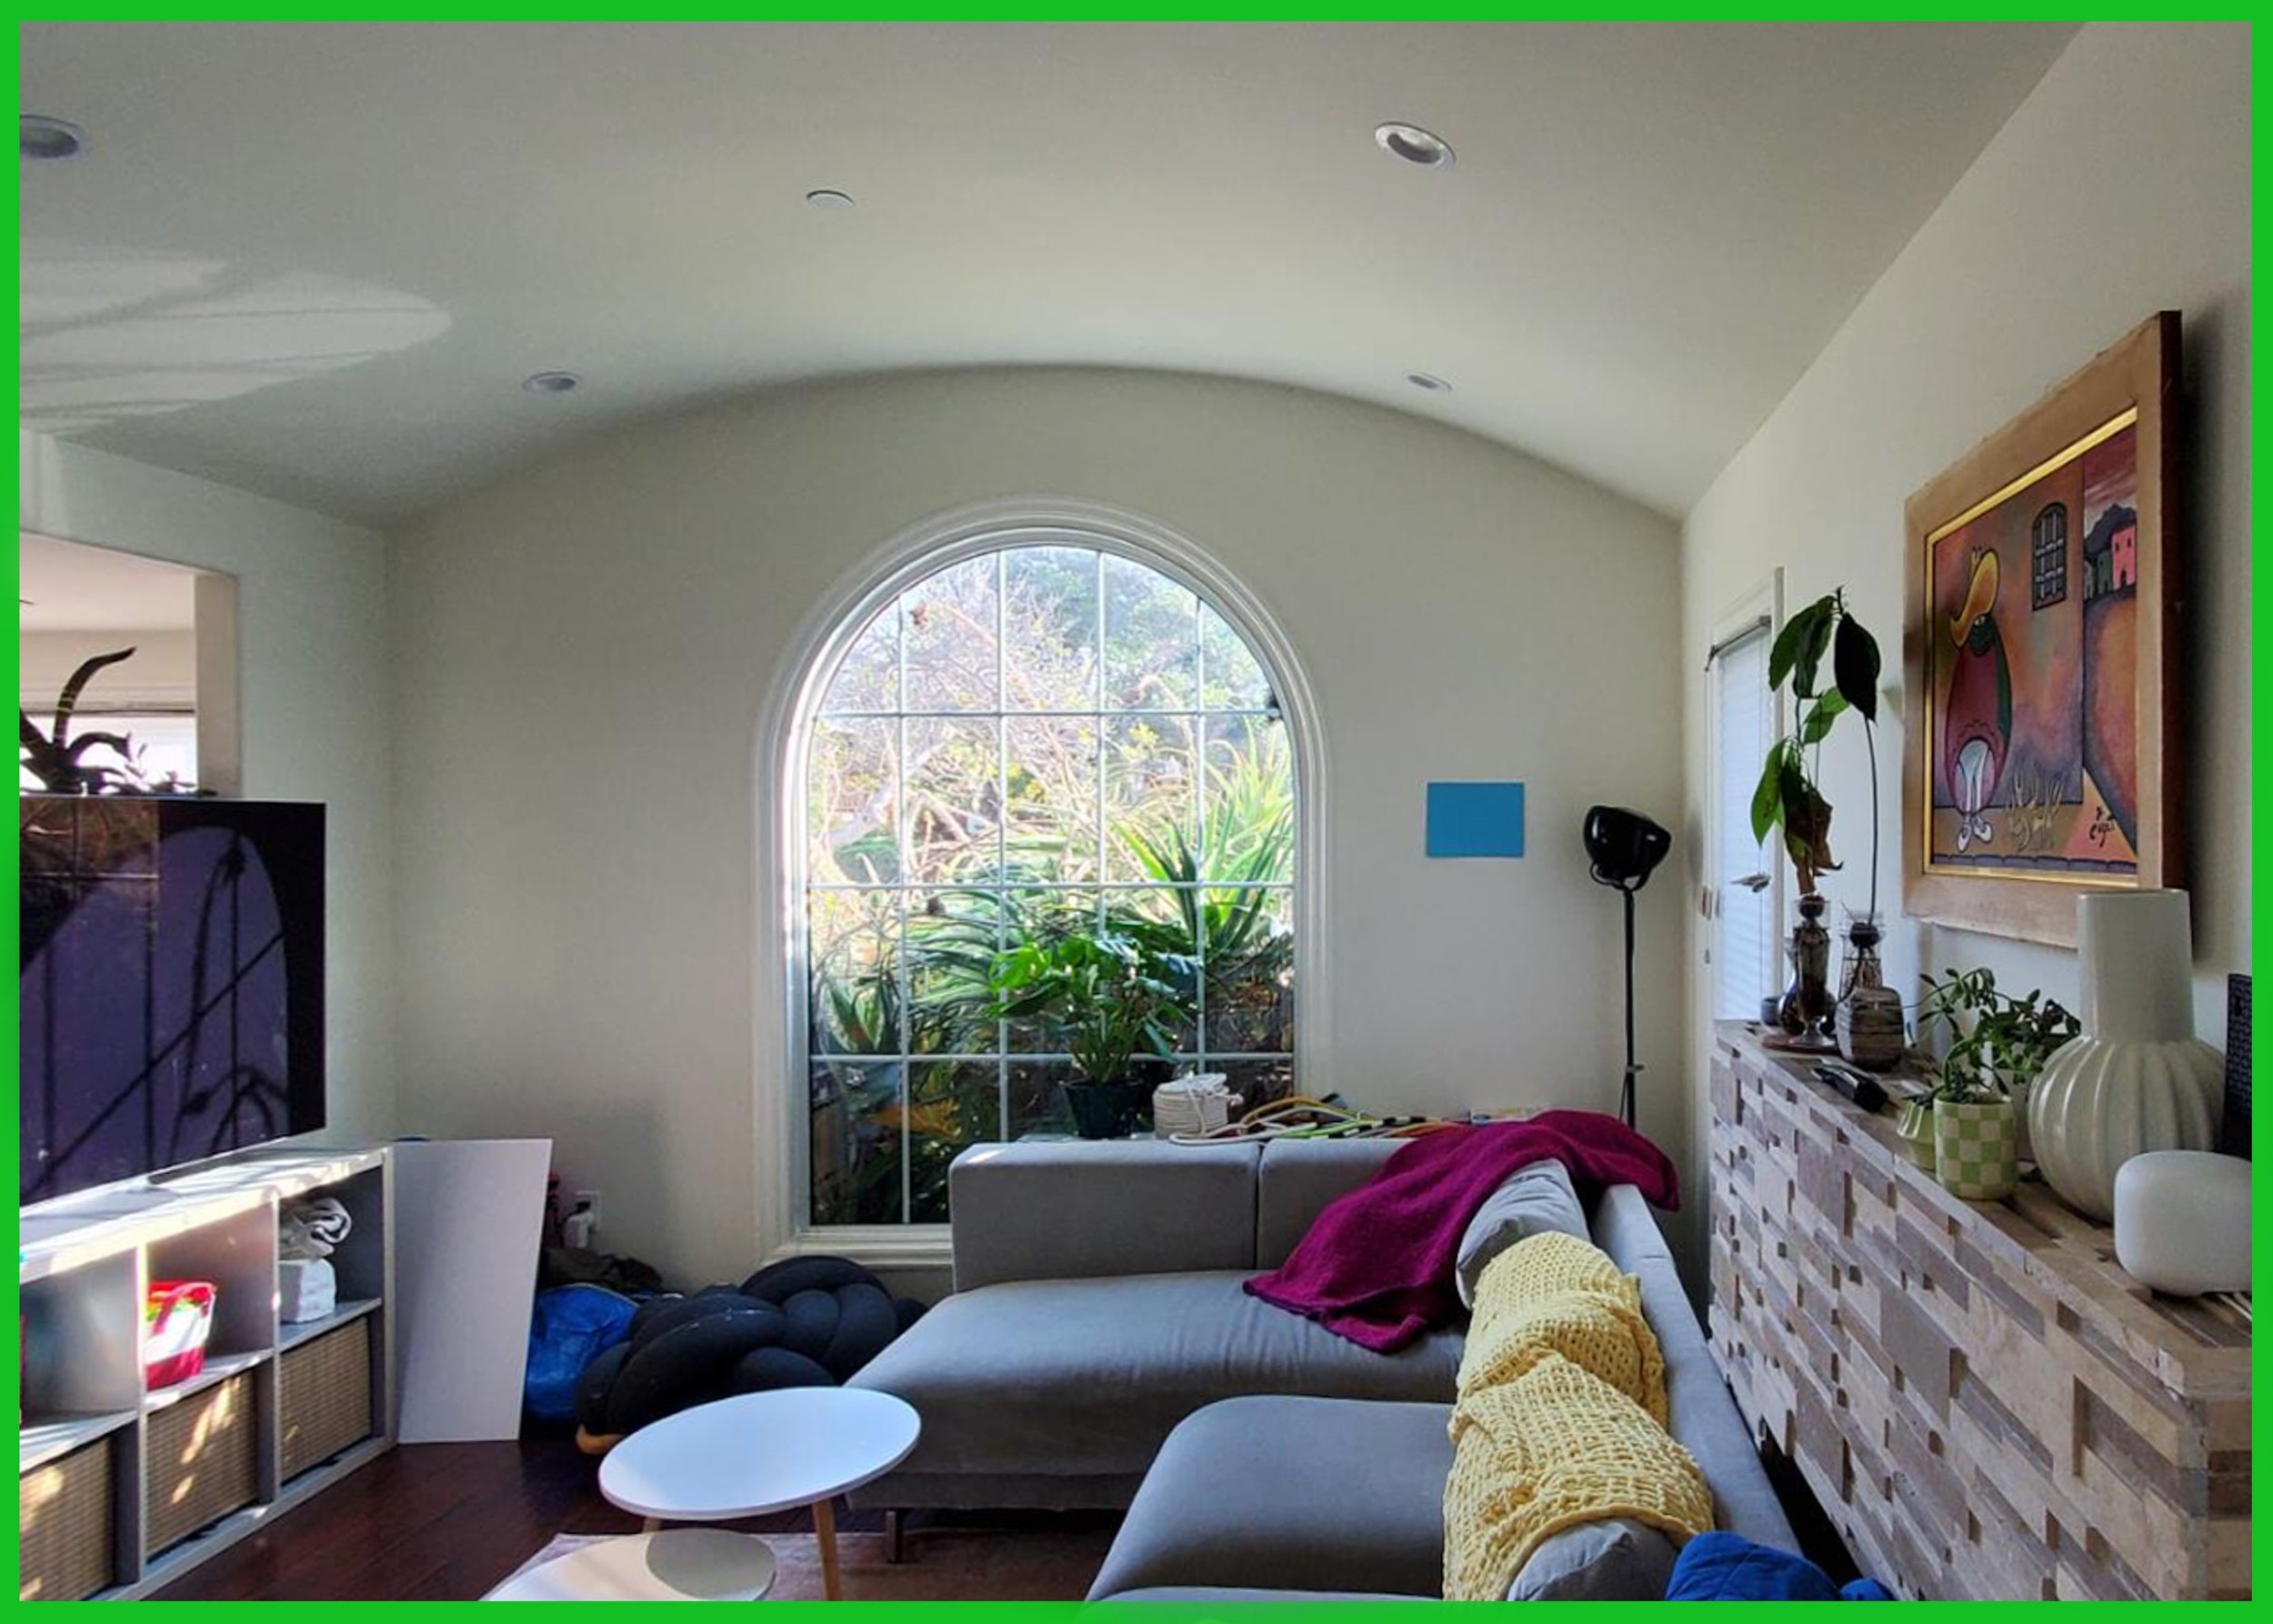
CORRECT
INCORRECT
CORRECT
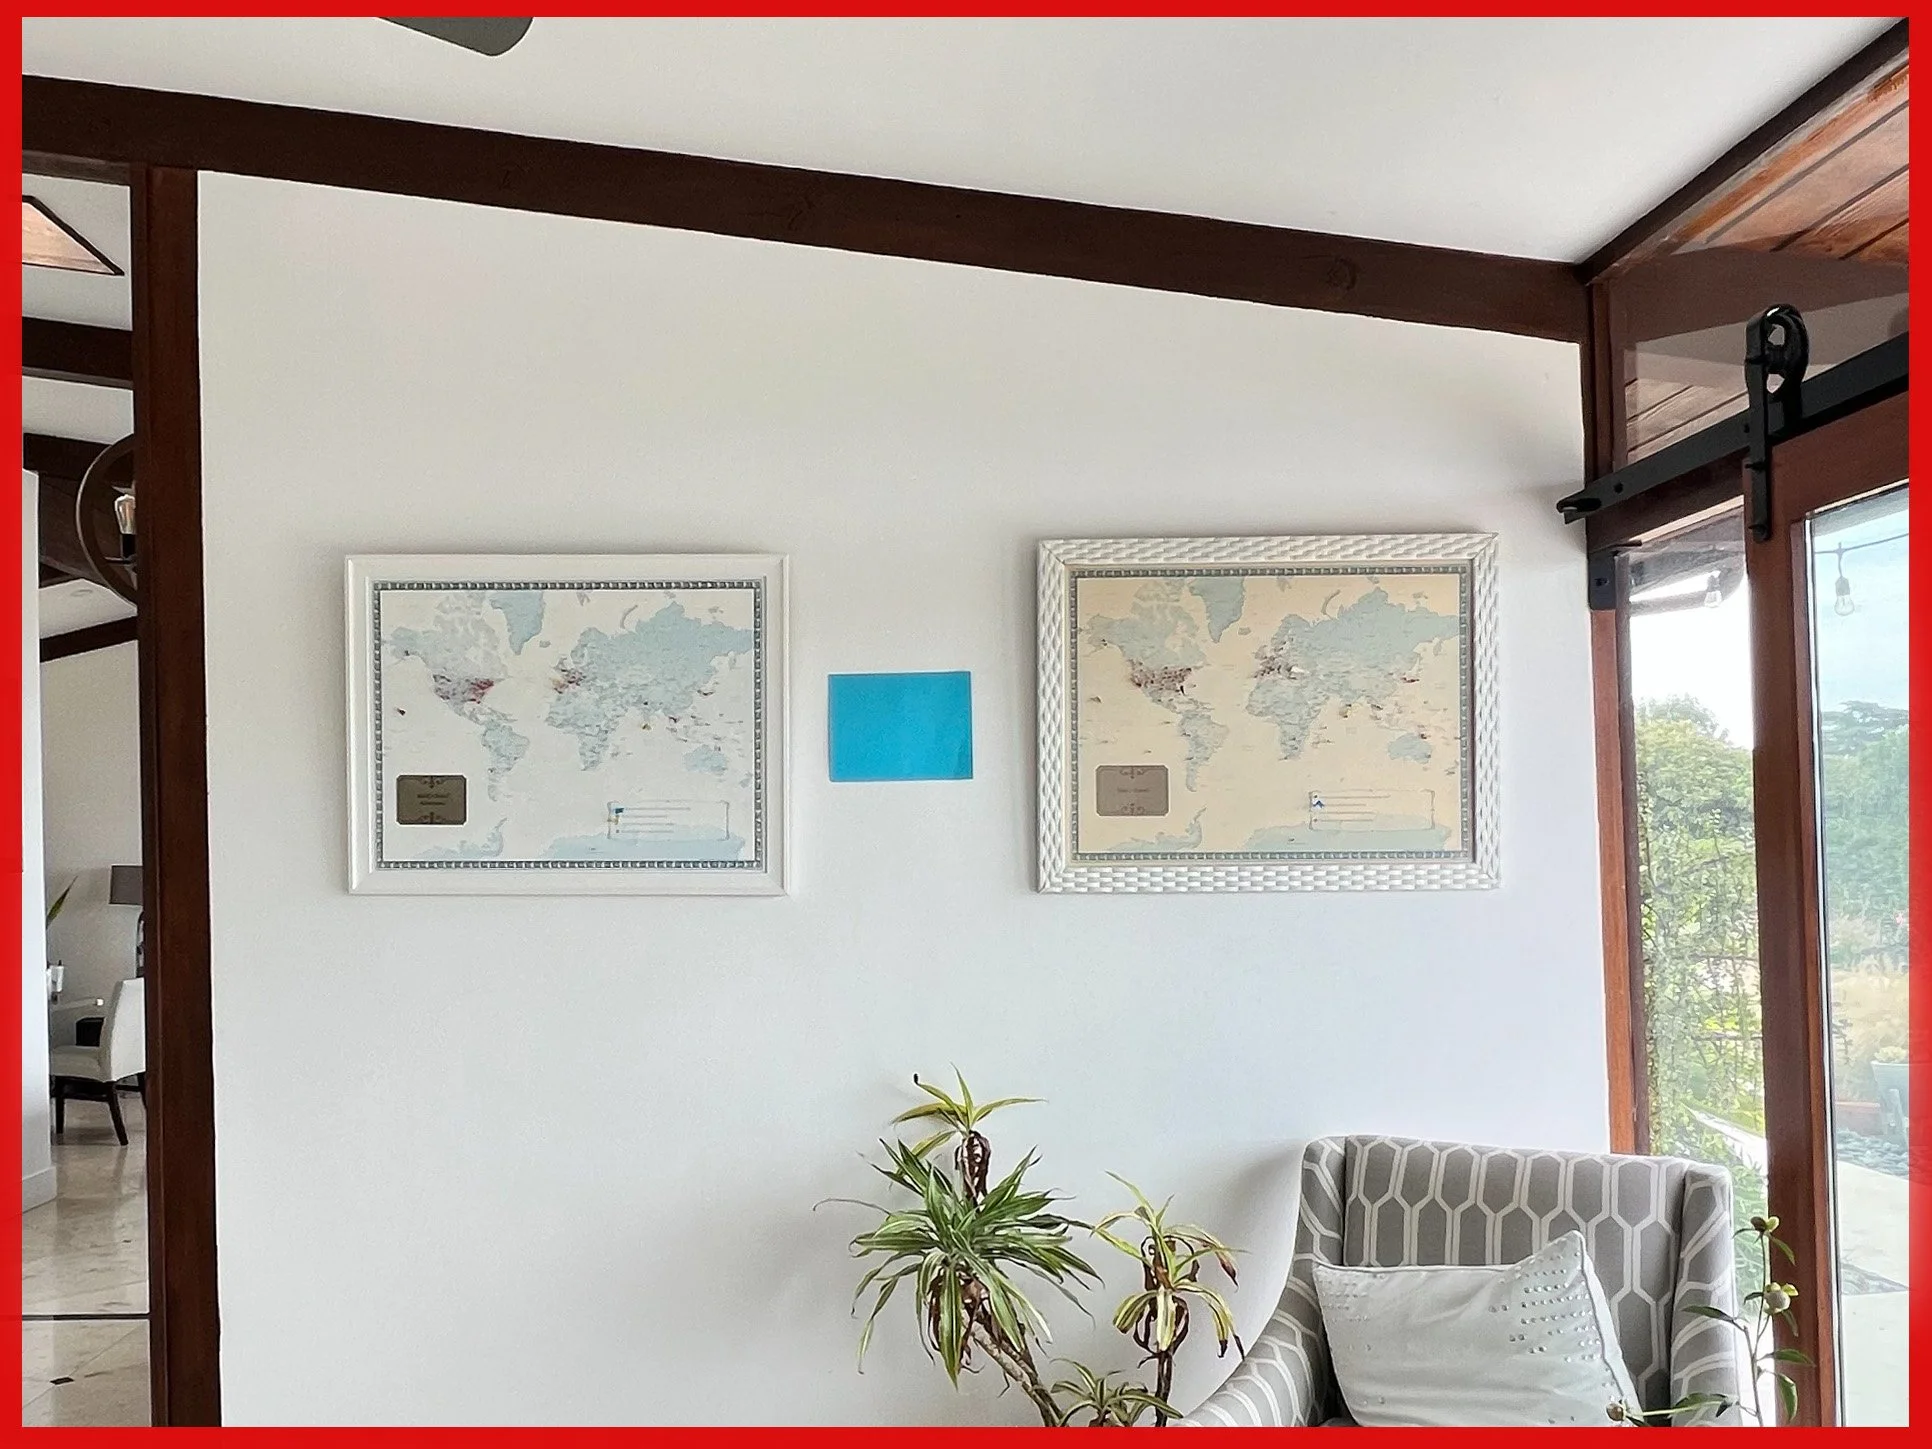
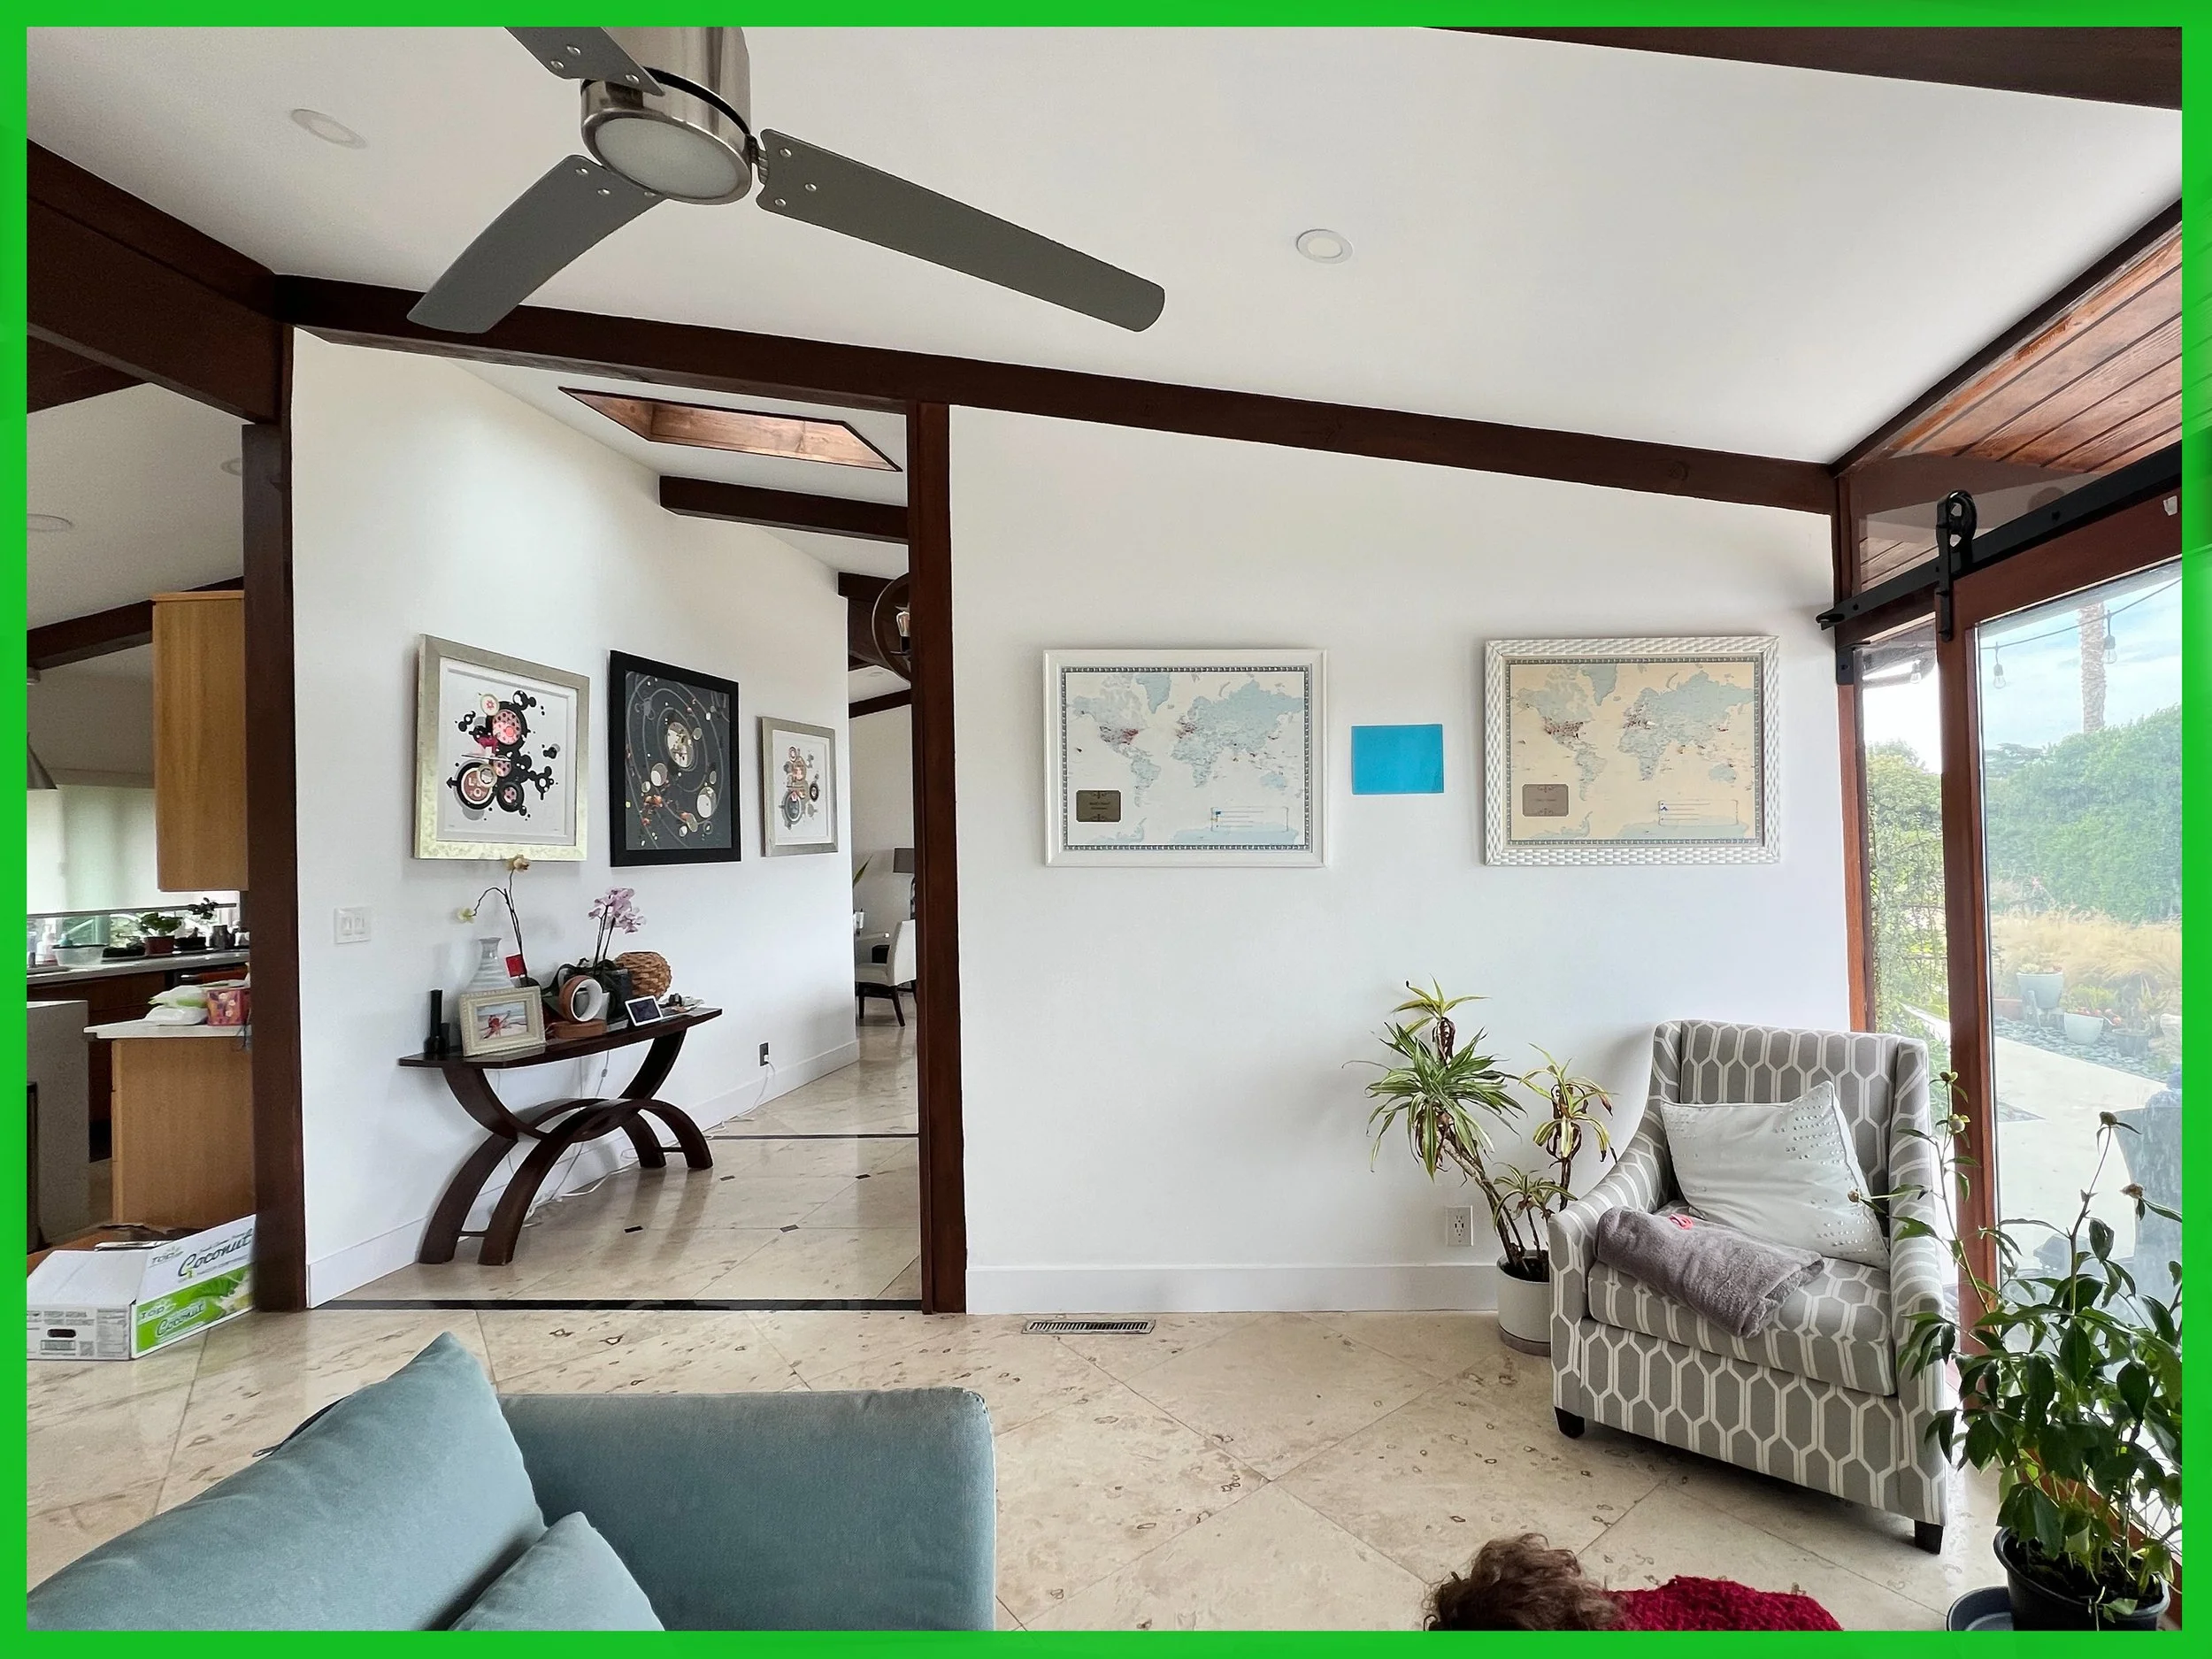
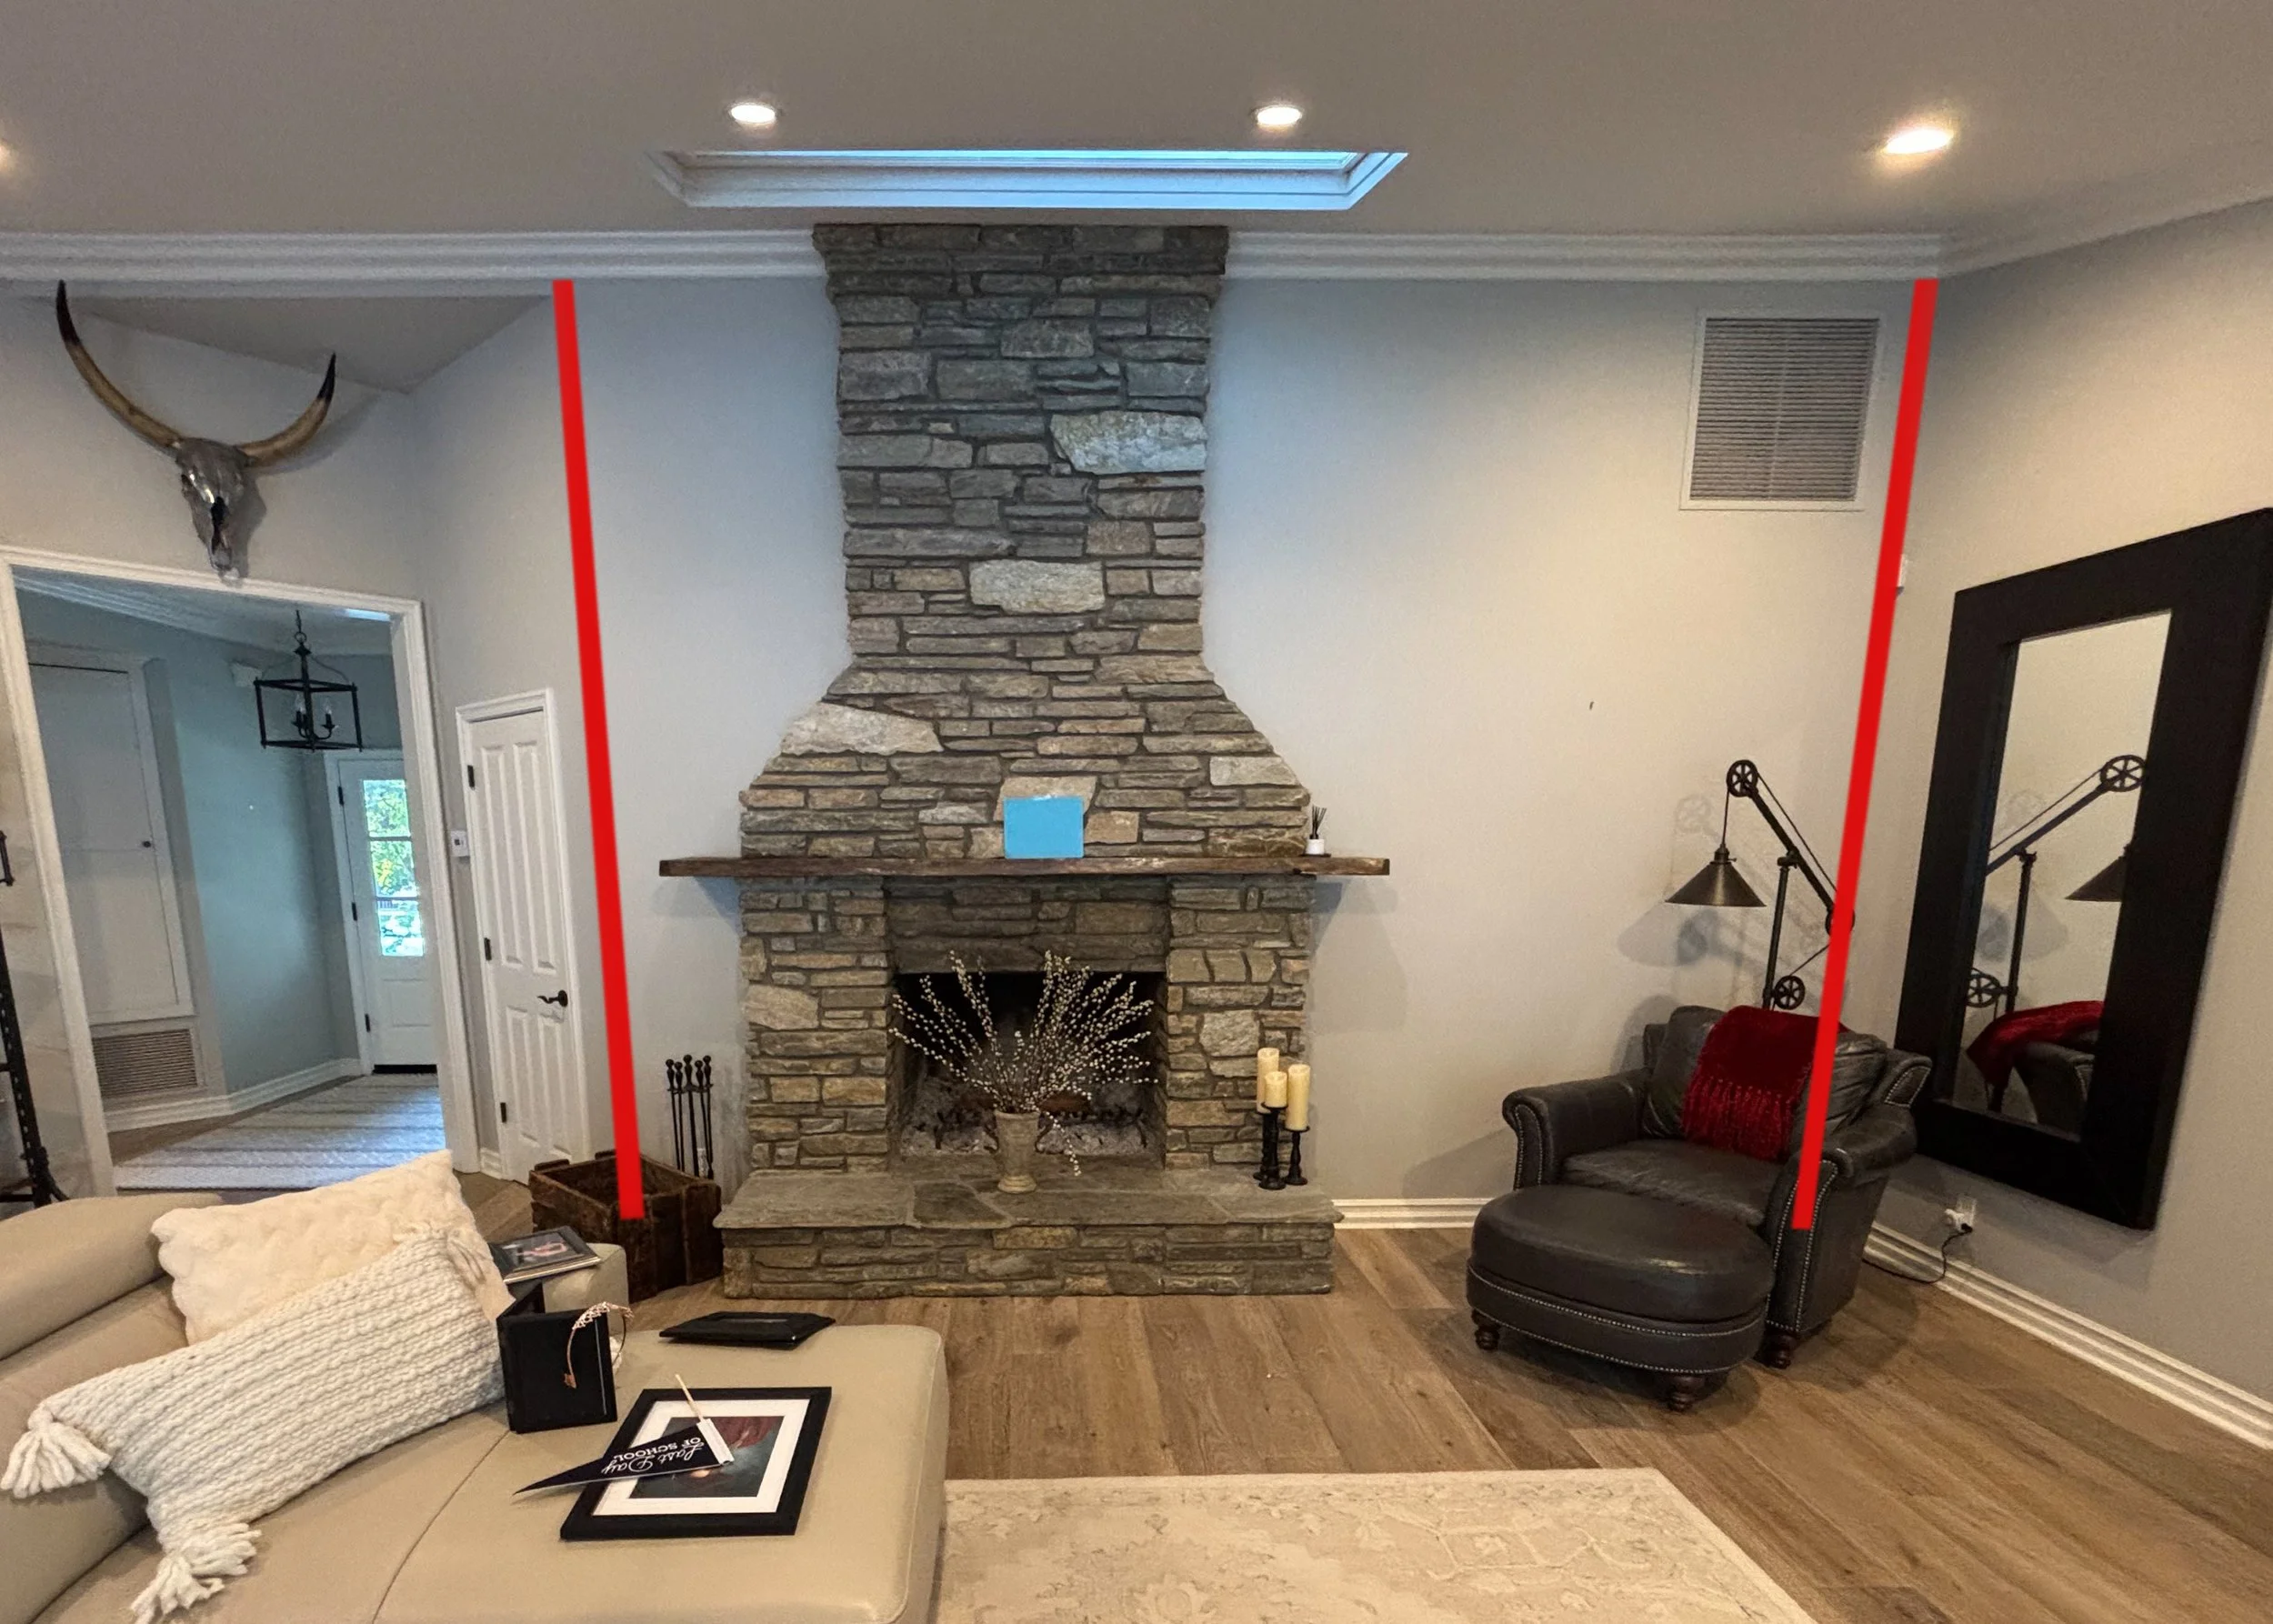
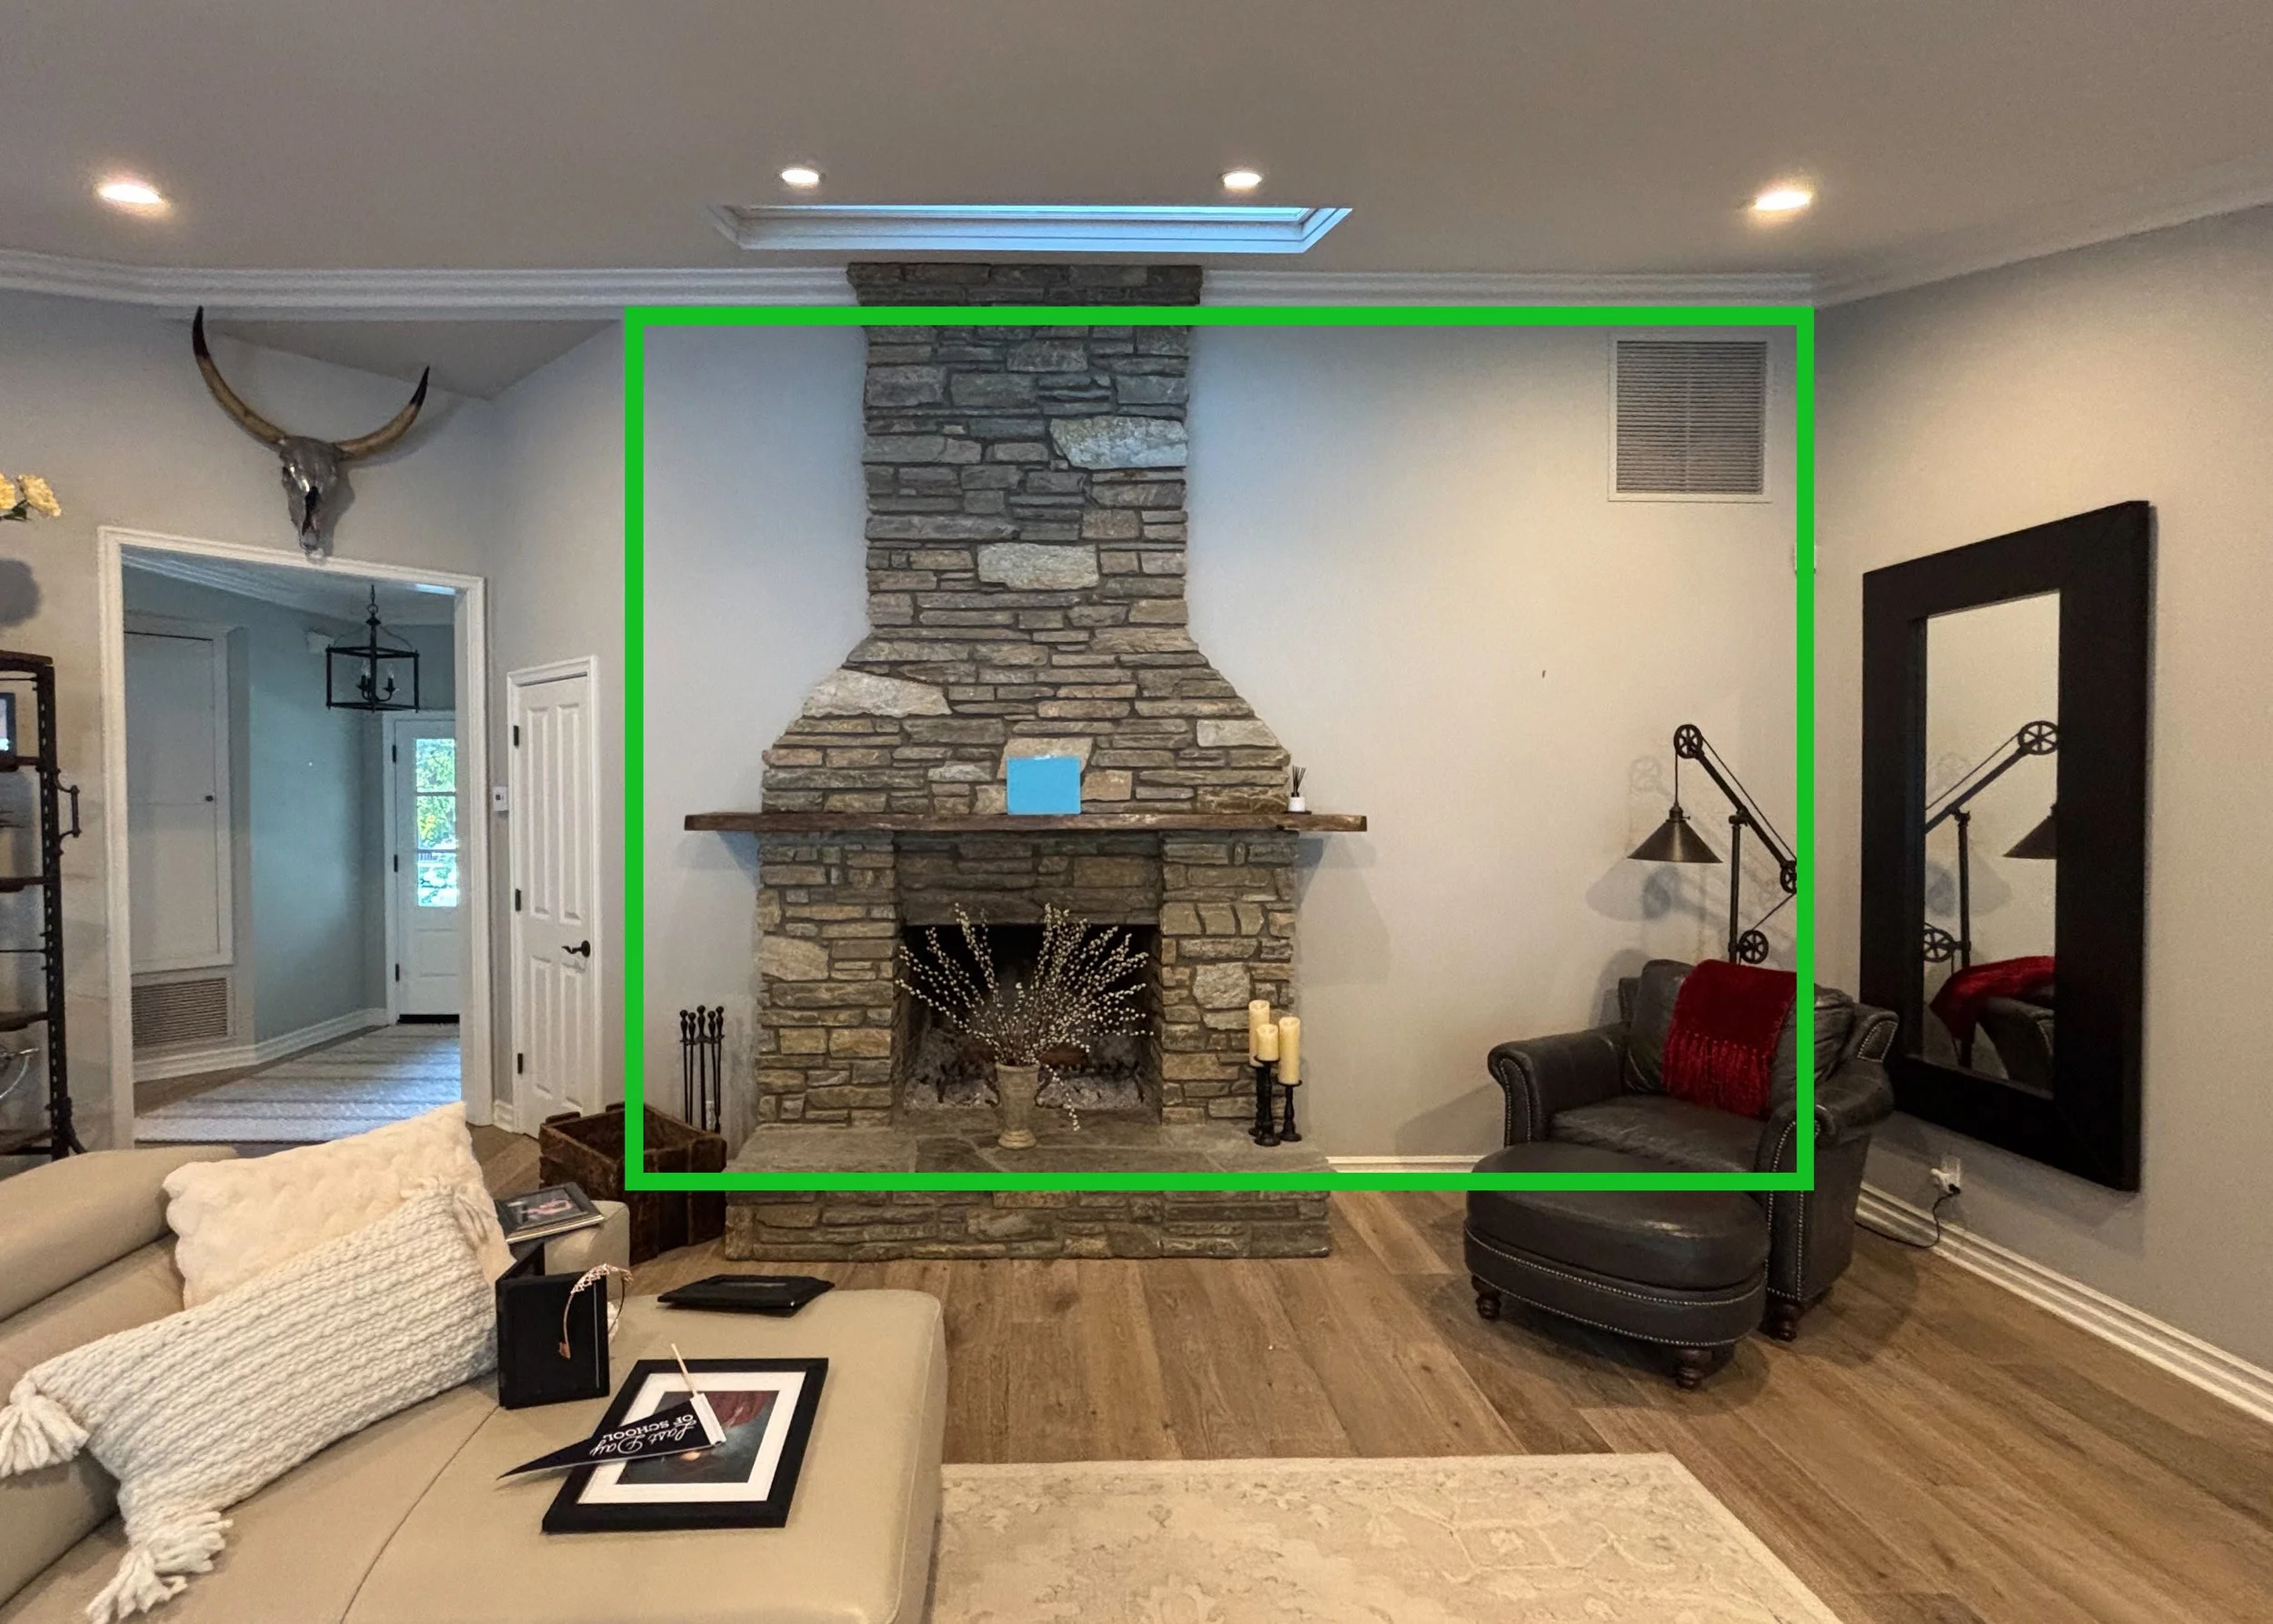
Please be sure your image is FLAT/PARALLEL TO THE WALL:
INCORRECT
CORRECT
INCORRECT
CORRECT
Including an 8.5 x 11 PAPER ON THE WALL where the artwork might go allows us to scale the artwork so you don’t order the wrong size:
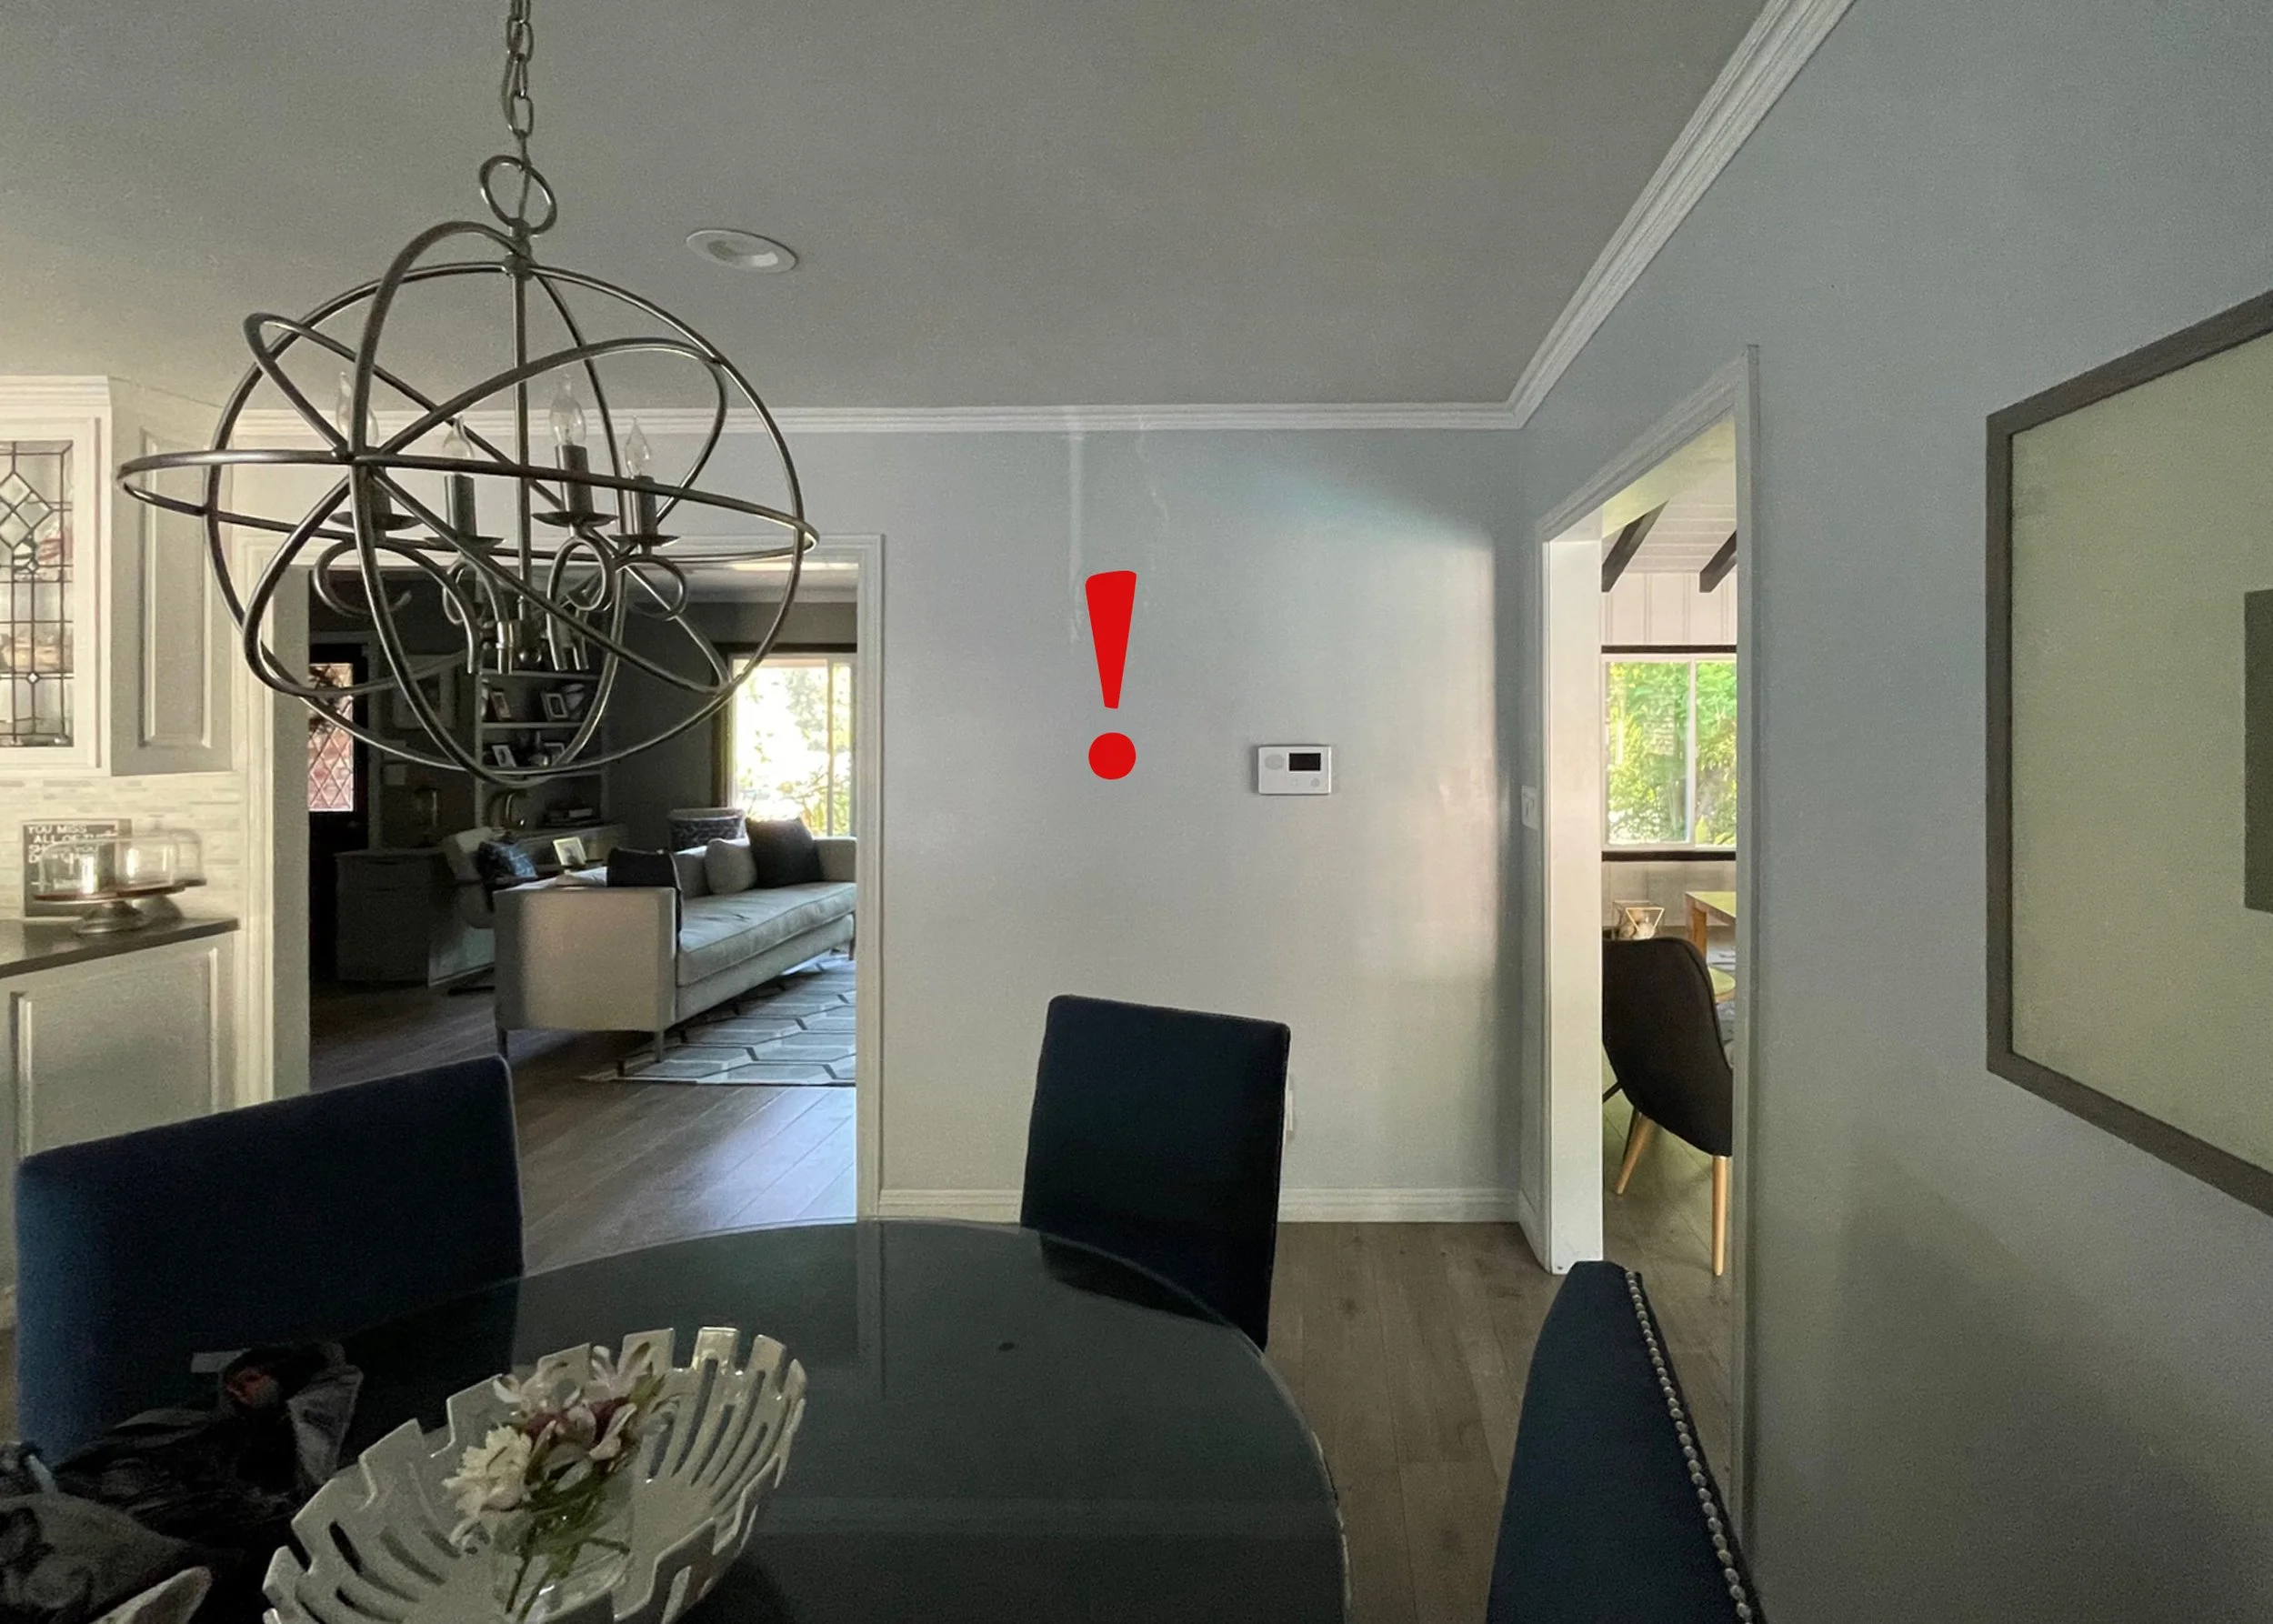
INCORRECT
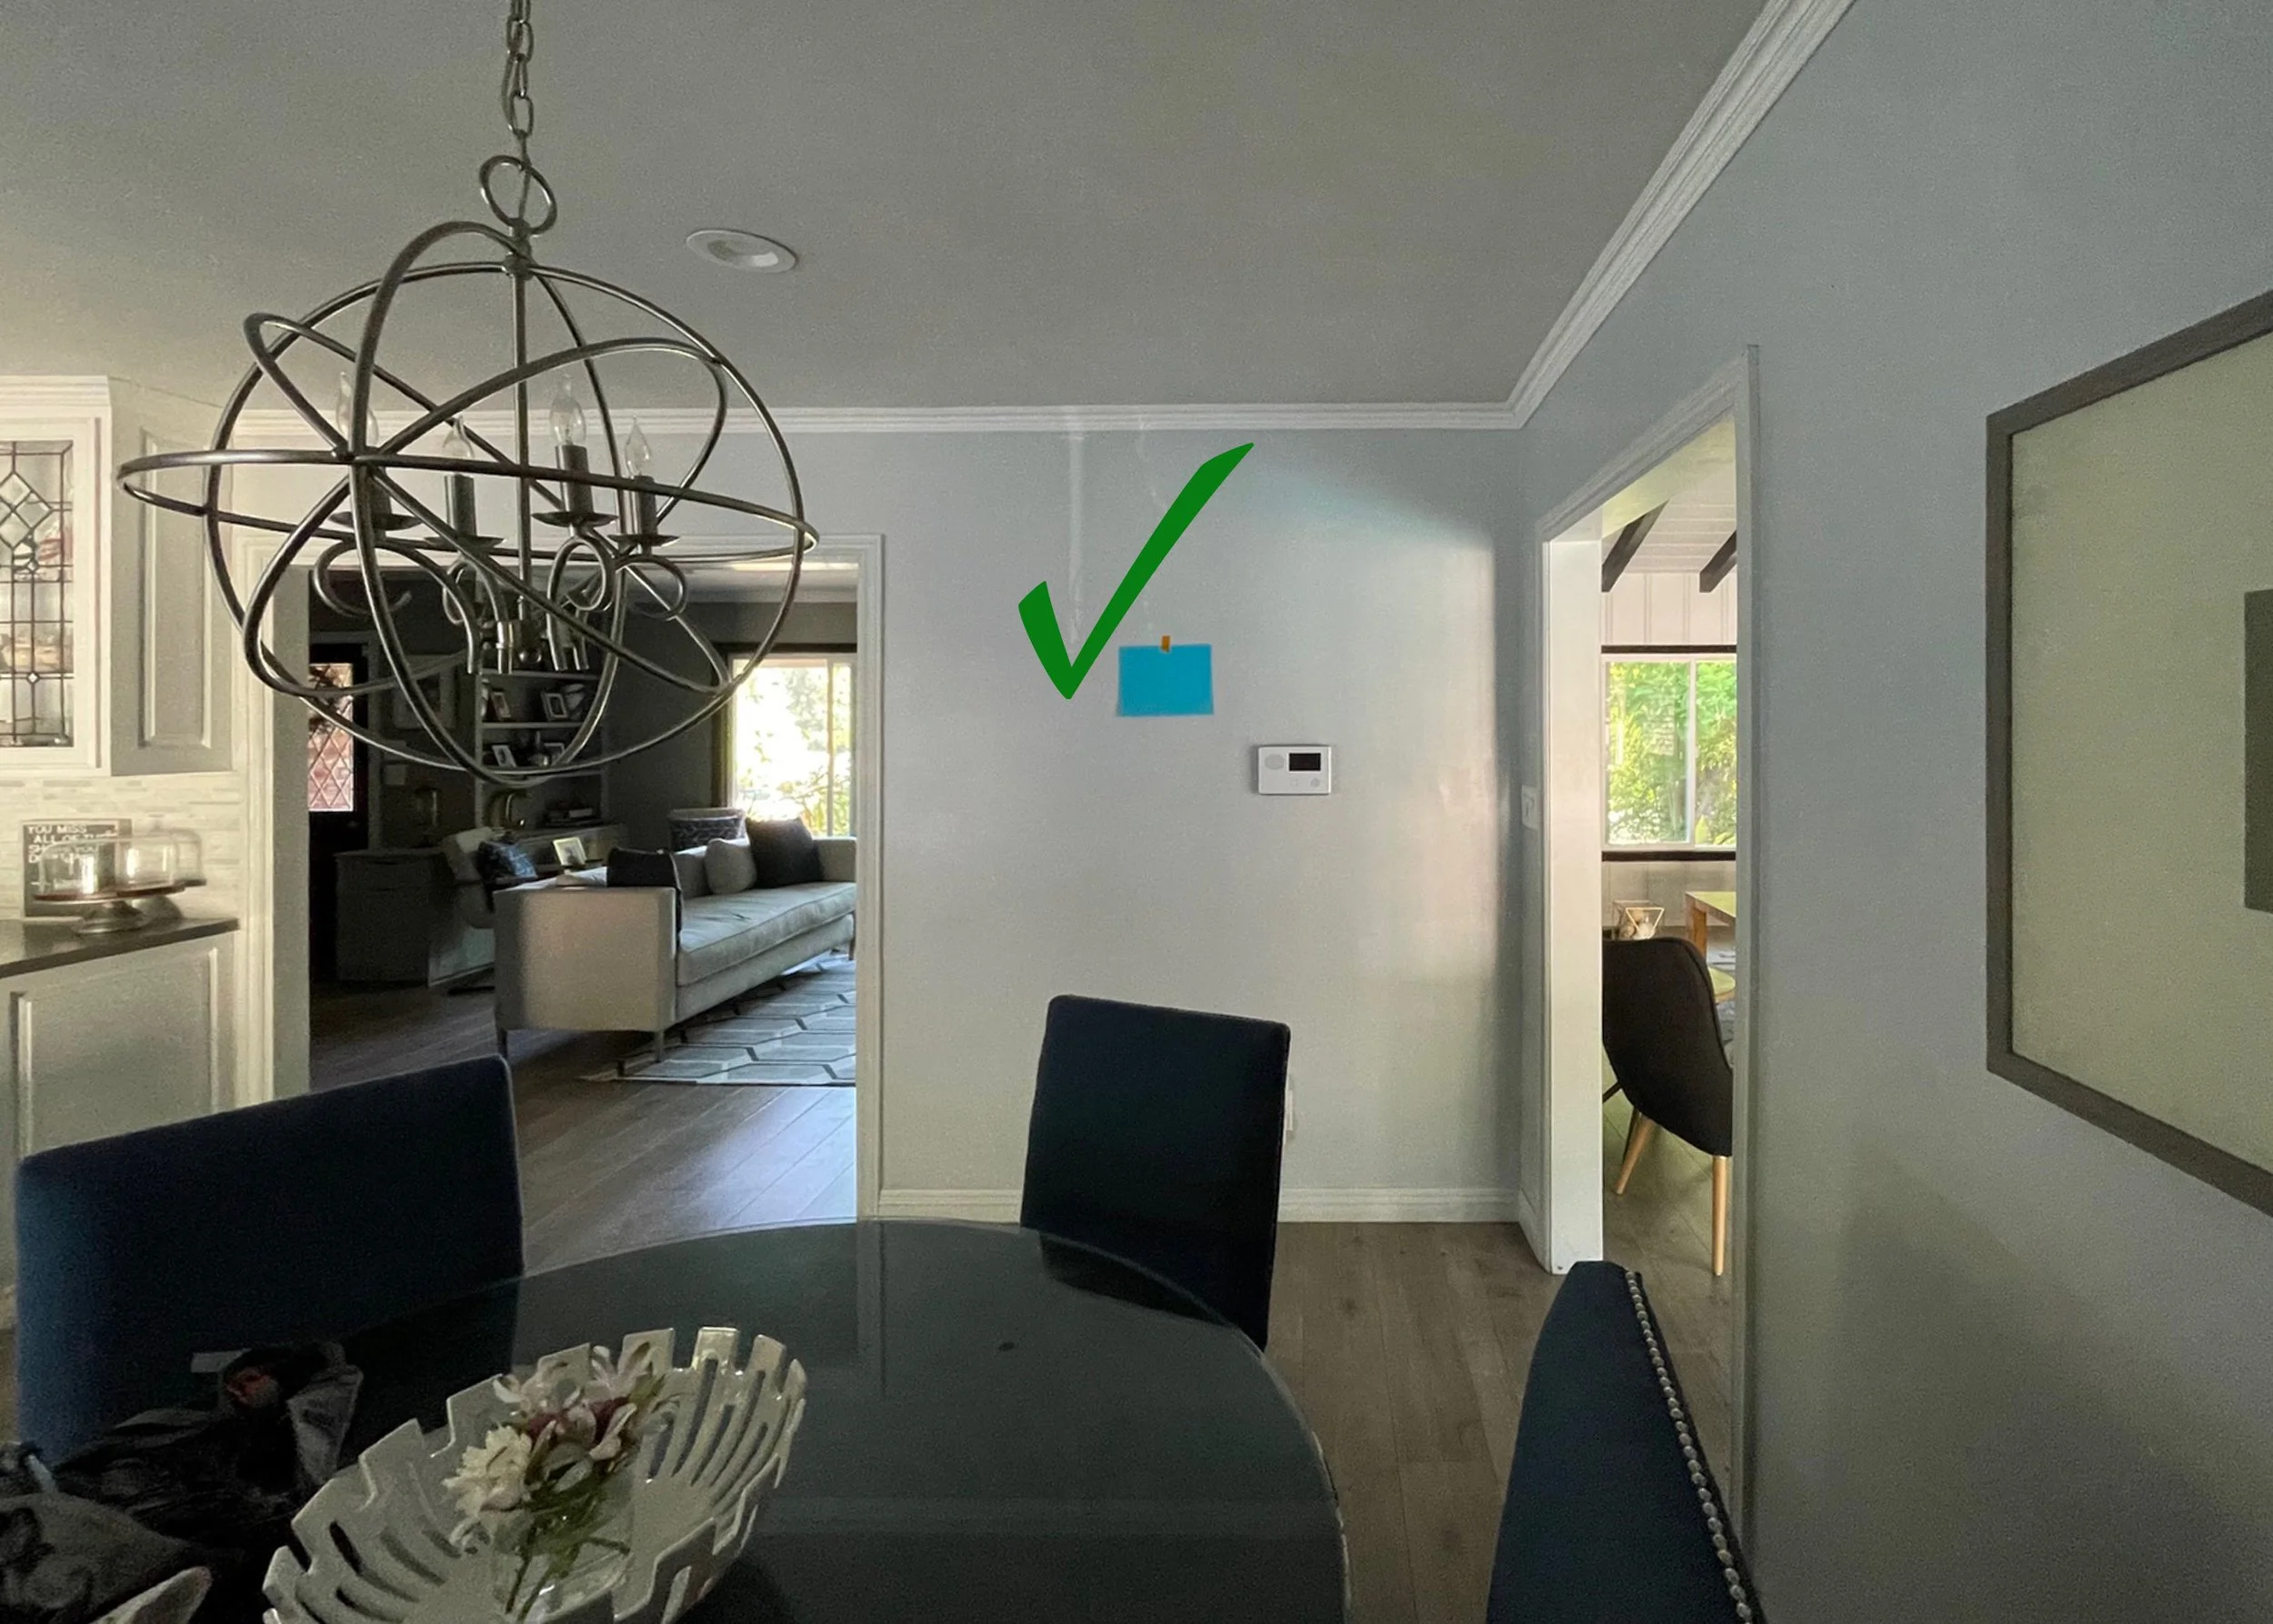
CORRECT
In most cases, HOLDING YOUR PHONE HORIZONTALLY works best because it allows you to see more of the room:
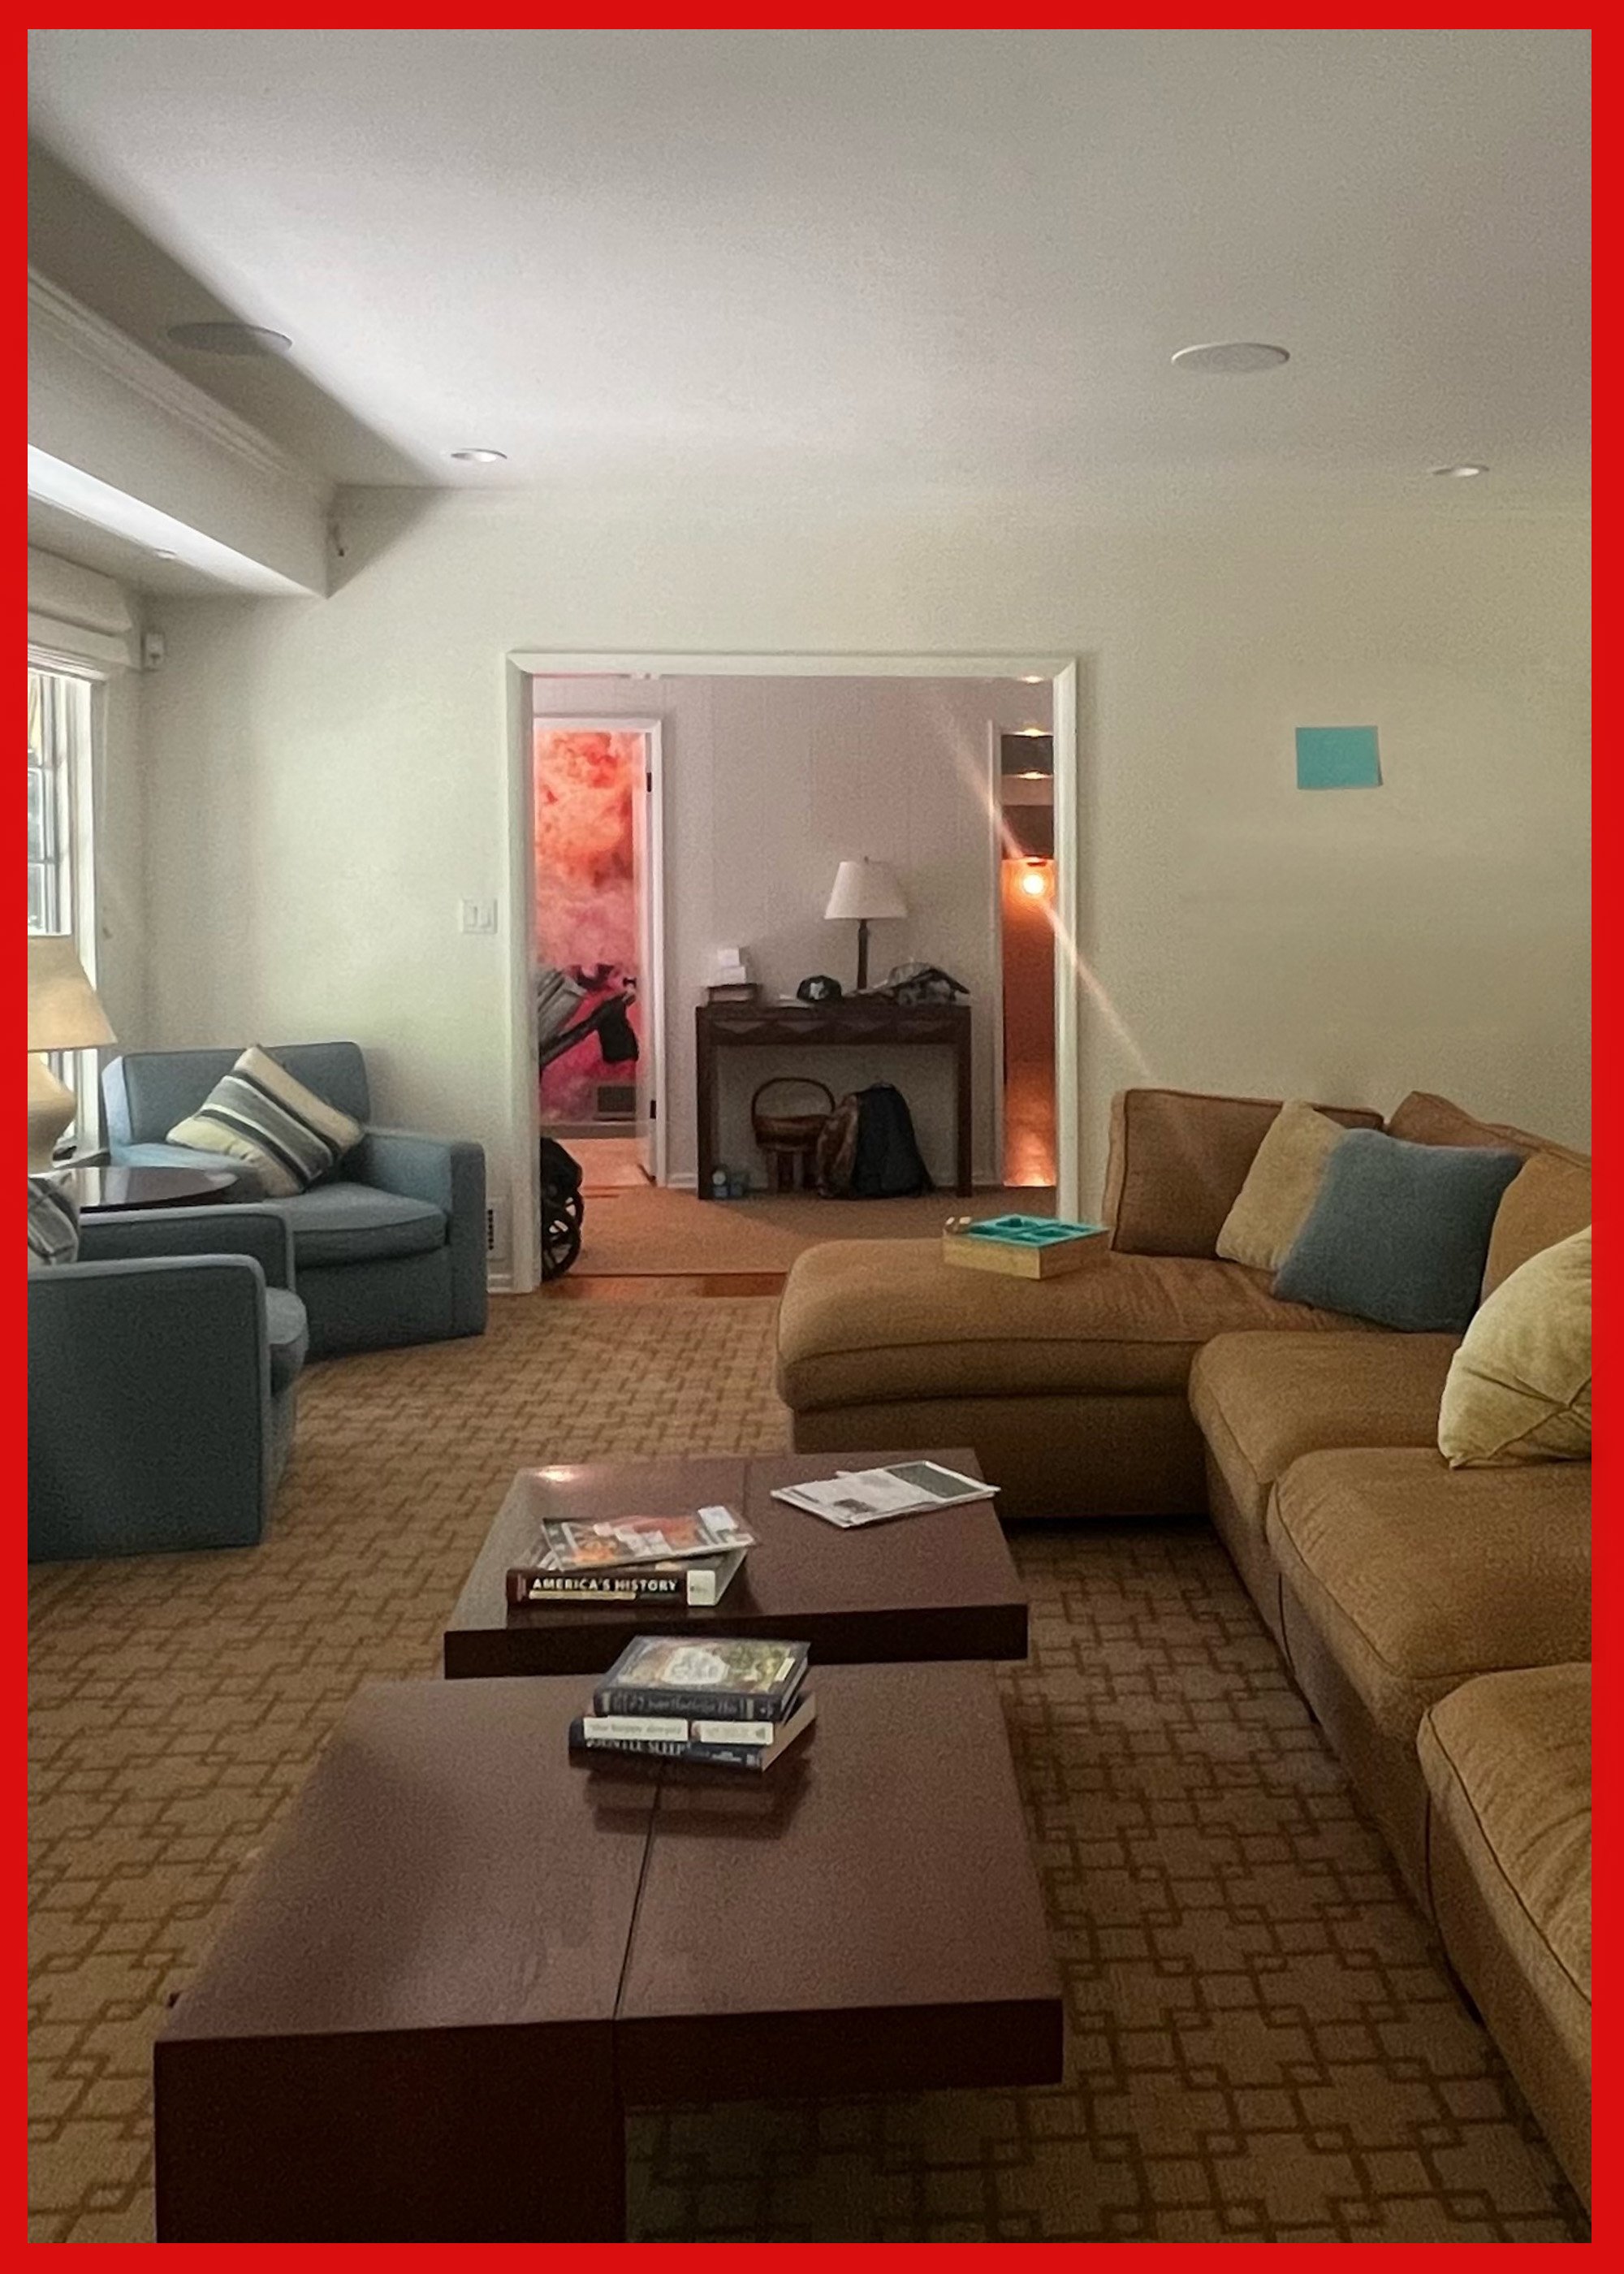
INCORRECT
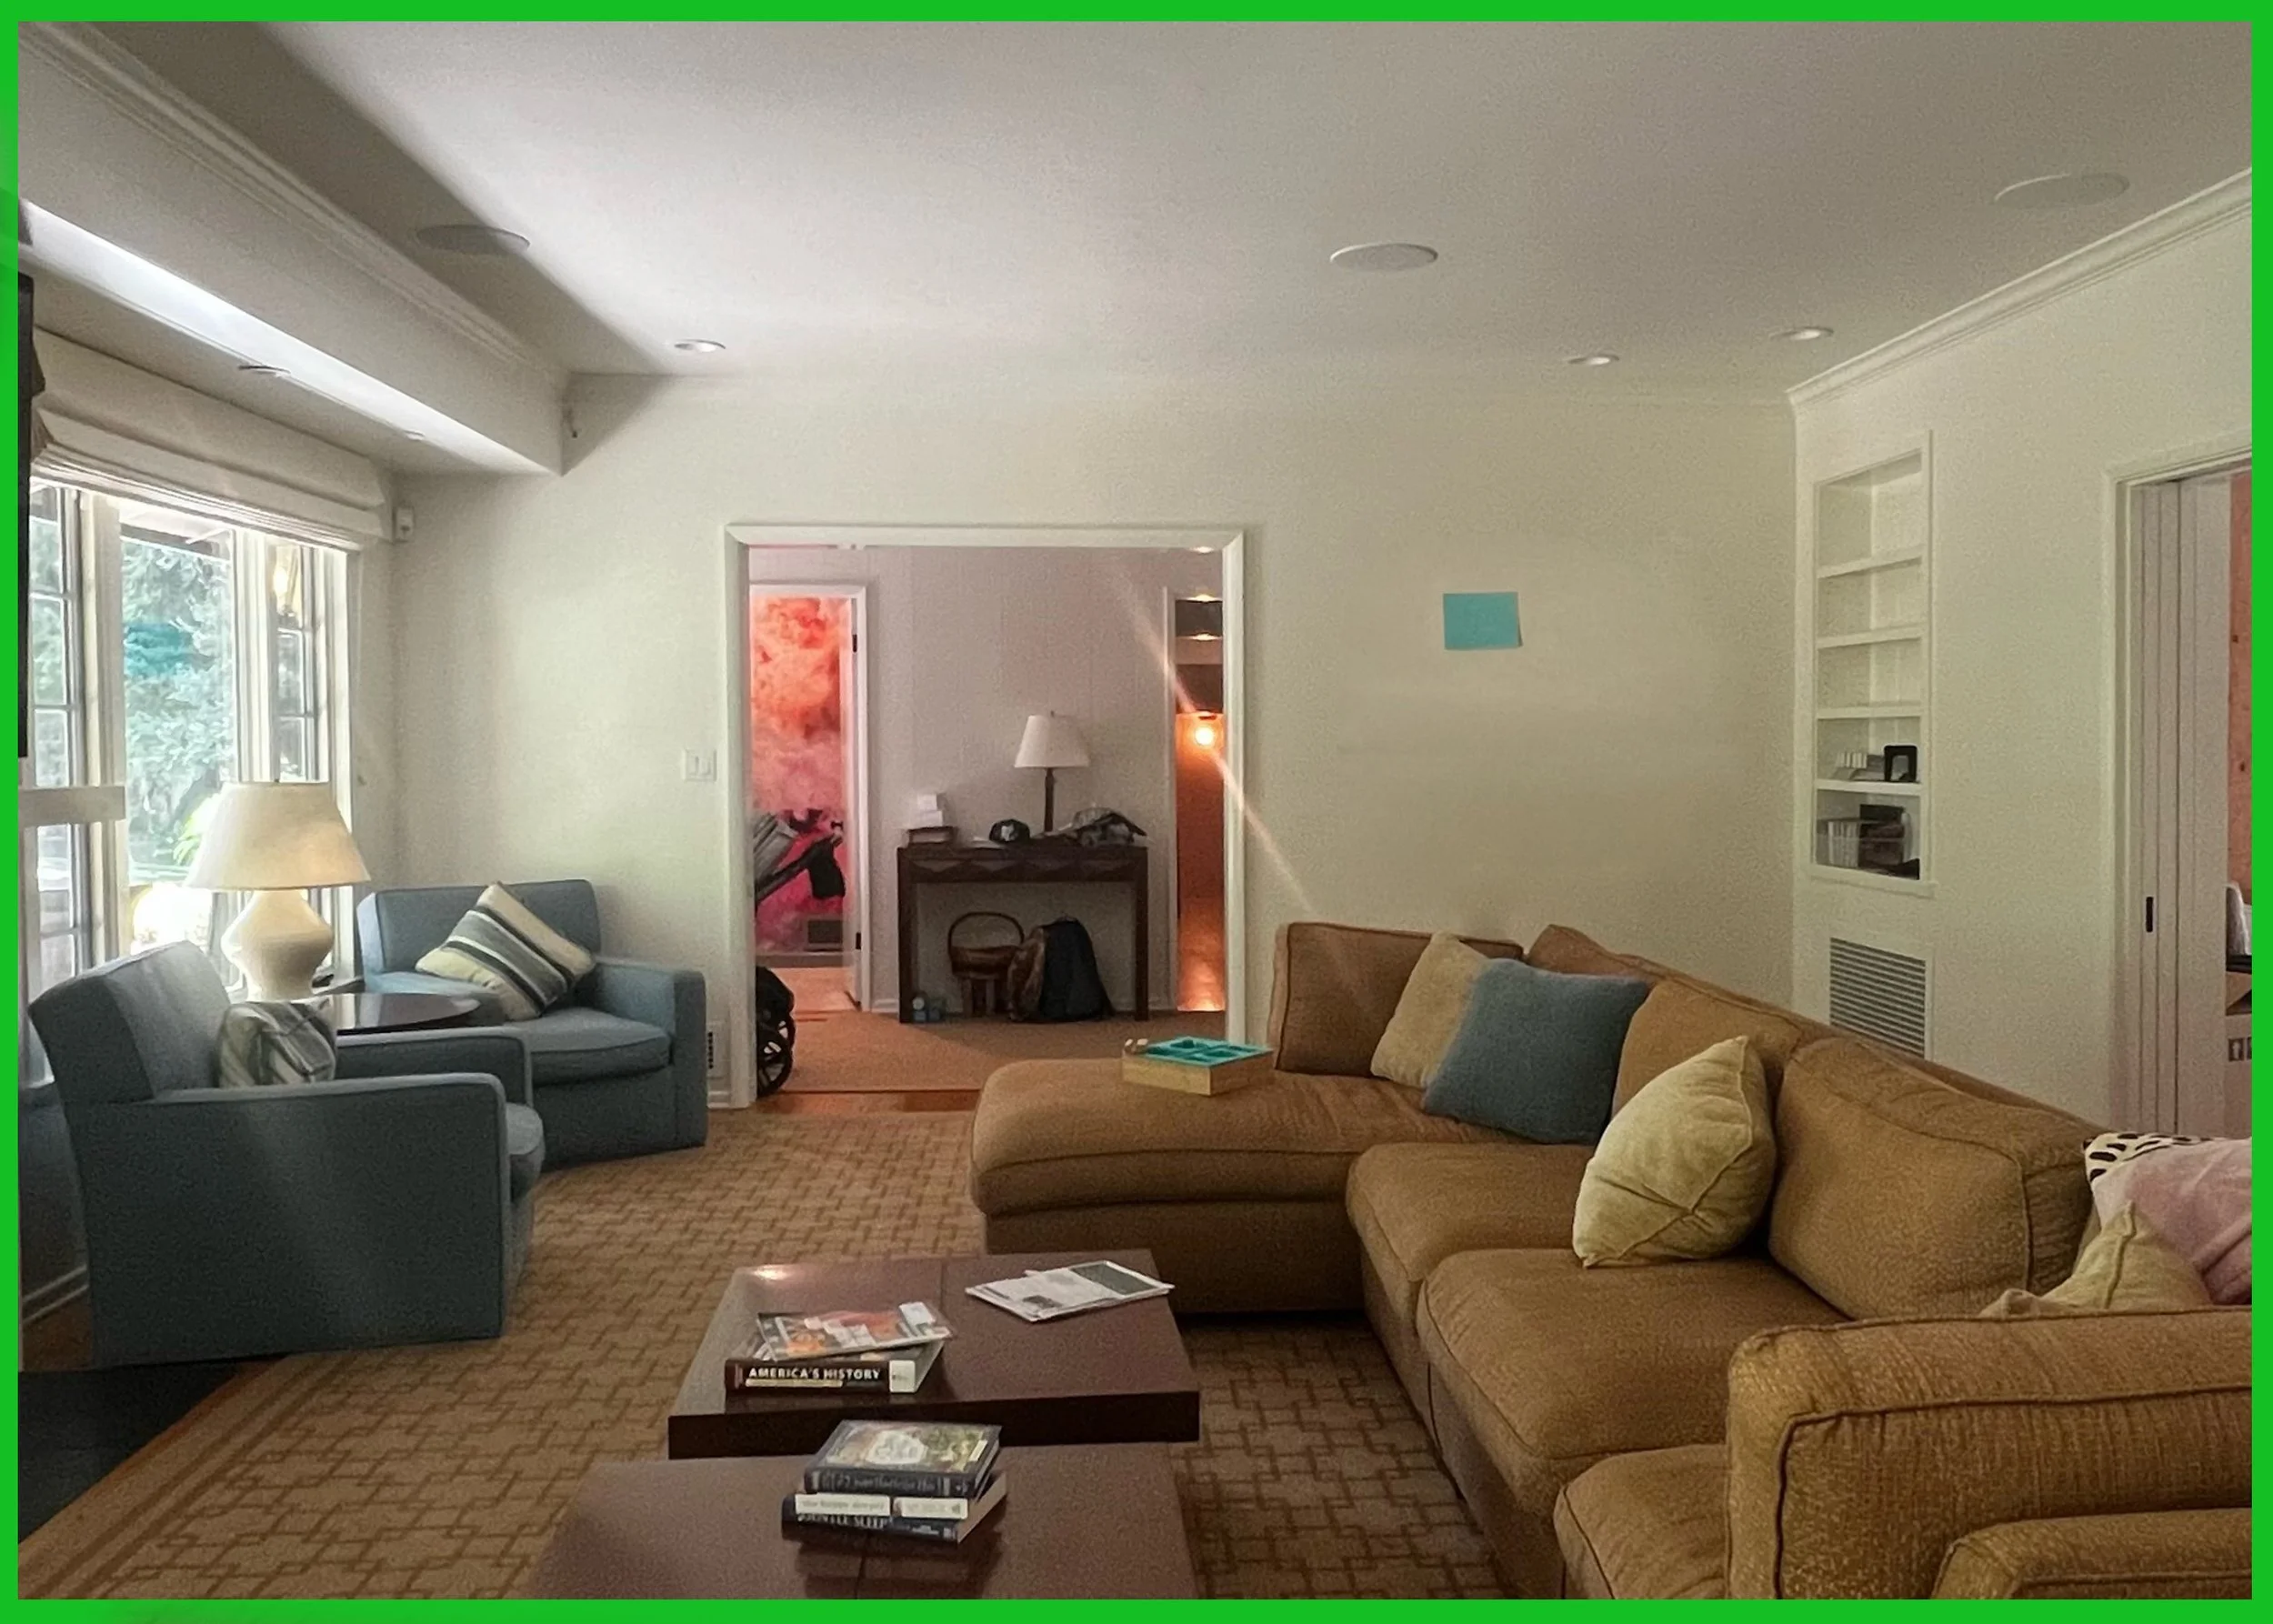
CORRECT